
Go has emerged as a popular option for developing web applications, especially for API backends with frontends written in React or Vue.
This is the first of a multi-post series on deploying web applications to cloud providers, starting with the simplest form of deployment, all the way to using Kubernetes for your web apps. Throughout the series, the web applications (or API backends) will be deployed to public cloud providers with scalability, high availability, and zero downtime deployments.
While I am writing this primarily for a Go audience, the basics of the deployment methods described here apply to any framework, including Node, Java, Python, PHP and Rails. I chose Go for this article because it has a single binary that handles everything, including serving traffic, which makes it convenient for demo purposes.
Setting the Scene
Before we start, let's clarify what we're trying to achieve: we're going to show you how to deploy a Go application to a cloud provider with high availability and scalability features. You can find the code we're deploying on Github.
To make things simpler to manage, I'm going to use Docker - primarily as a process manager to keep the application process up and restart it if it crashes. While you can use any process manager for this purpose, some of the details below are specific to Docker and the deployment script.
Our build and deployment scripts are written in Ruby because 1. Ruby is available on almost all operating systems, and 2. It's easy to read even if you don't write Ruby.
If you would like to build and test things for yourself, clone the sample git repo, build the app with go build and then run it using ./go-webapp. If everything works fine, you should see something like this on http://localhost:4500
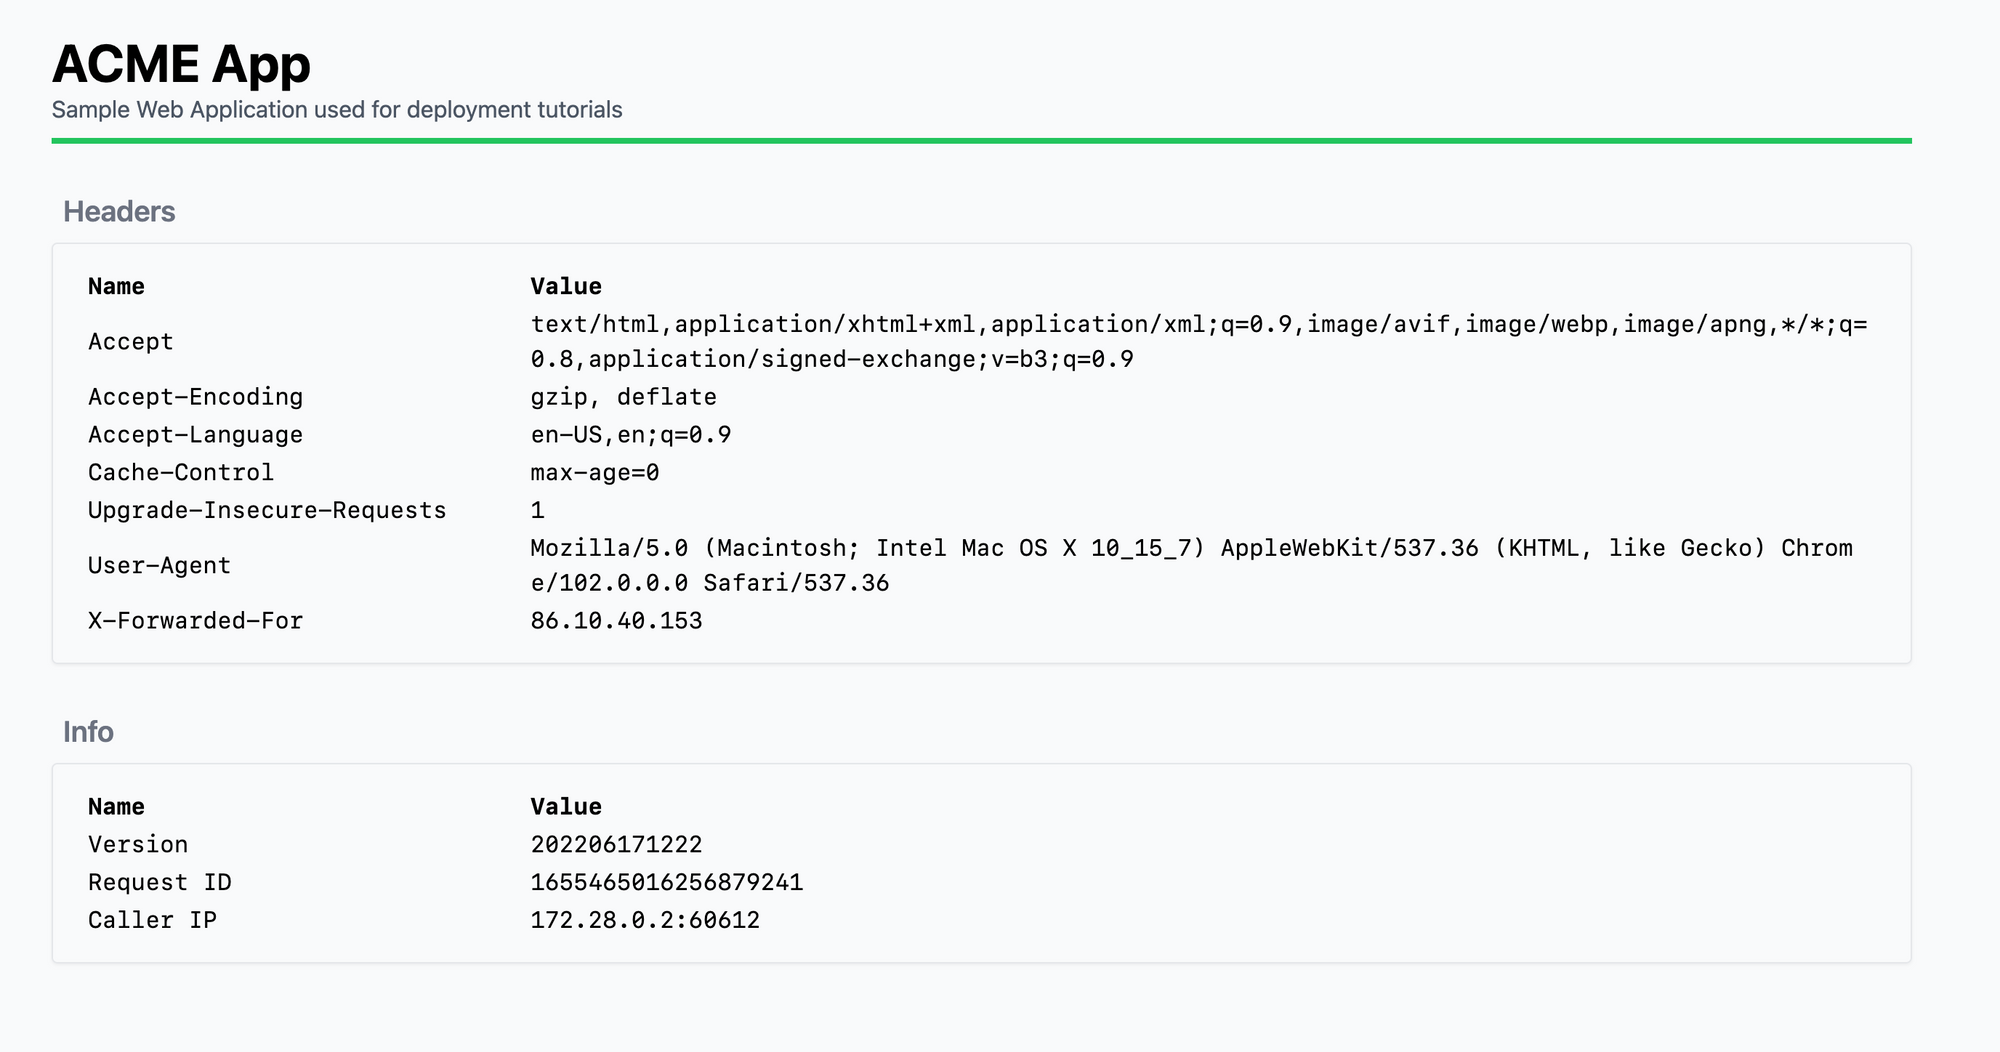
With that out of the way, let's get started!
Builds and Deployments
We're going to use Docker to deliver our code to our servers, so we need to build our code into Docker images. Docker uses image tags to differentiate between different versions of an image. If we use the same tag (or no tag) for all our application builds, our servers will not pull the most recent version of our code. For this reason, I've included a simple Docker build script to build the images and tag them with a YYYYMMDDHHMM format. This build script looks like this:
build
This script builds and pushes two images: Web and HAProxy. Web is built with Dockerfile (see the next section below) and contains our app. HAProxy is built with Dockerfile.haproxy and consists of the base HAProxy image + a config file haproxy.cfg. Once the images are built and published, the script will print the image tag which we can use in our deployment step later.
We can now move on to the next steps - defining our containers and then deploying our images.
Note: This script build and pushes the images to
cloud66/go-webappandcloud66/haproxyimages. You need to change those to your own docker registry names if you want to use the script as is.
Method 1: Basic deployments
In this method, we will have 2 processes serve incoming traffic: our app and HAProxy in front of it. During deployments, we will start a process with the new code and shut down the old one.
 Deployment Method 1
In this example, Web1 is the active application. Web2 is configured on HAProxy, but the process doesn't exist yet. During deployment, we start Web2 with the new code and shut down Web1. HAProxy, if properly configured, will take care of the switch over. The next deployment will do the opposite: deploy new code to Web1, shutdown Web2, and so on.
In summary, deployments will:
- Find the inactive backend in HAProxy
- Deploy the new code as the inactive backend
- Shut down the active backend
If your backend supports graceful shutdown (i.e., not serving new traffic and draining the existing connections), you will have no downtime.
Placing the app in a container
To achieve the method above, I need to put my application in a Docker container. For this, I need a Dockerfile, which you can see here:
Dockerfile
This Dockerfile builds the code using the standard Golang Docker image. It accepts VERSION as a Docker build argument to tag the image. Once the executable is built, it copies it to a smaller alpine image to save space, resulting in a 19MB image size.
The build script at the start of this post passes a VERSION into the Docker build process.
To build the image without the build script, you can run something like this:
If you are interested in more details about this Dockerfile, you might find this post on building Go images with Docker helpful. Ultimately, however you build your Docker image, as long as it works and serves traffic on your desired port, it's all good.
HAProxy
Ok, now let's turn our attention to HAProxy. HAProxy is a popular reverse proxy that redirects traffic from frontend to backend. It can do other things, like taking care of SSL traffic and much more, but for now we're only going to configure it to serve traffic to the backend.
Without HAProxy, traffic reaching our server will reach the application with no issues. However, to have zero downtime deployments, we need to run HAProxy in front of our application to switch the traffic to the new version when the old version is shut down.
haproxy.cfg
This configuration is a bit long, so let's break it down by section so we can understand what's happening.
In the global section, we're setting the basics of logging and connections. The important part is enabling the HAProxy API using this line stats socket ipv4@0.0.0.0:9999 level admin expose-fd listeners. This allows our deployment script to communicate with HAProxy over TCP port 9999.
Note: You don't want to leave this port open to the world. If you keep this port local to the server, you can only run the deployment process on the server itself. If you'd like to do the deployment from a remote machine, you probably either want the deployment script still to be run locally but initiated remotely via SSH for example or invoked via a CRON that regularly checks your git repo, build system or CI/CD for a new version of your code.
The defaults section is just a simple HAProxy configuration as a reverse proxy.
The meat of this config is inside these three sections: resolvers, frontend and backends. Let's start with frontend
Here we're telling HAProxy to listen to port 80 and send HTTP traffic to a backend called web.
Here we are setting up the backends. As you can see, I'm configuring two backends: web1 and web2. By default, HAProxy will redirect incoming traffic (from http-in the frontend) to either of these backends (you can configure how it makes this "choice").
Each configuration tells HAProxy that it should check the availability of the backend instance every second (check inter 1s) and use a Resolver called docker_resolver to find the IP of the backend (and prefer IPv4 resolve-prefer ipv4).
The key here is the resolver. Without a resolver HAProxy will not start if all of the backends are not running and cannot be found at the startup. Using a resolver also allows the backends to take different IP addresses during their life cycle (if Docker chooses to assign them new IPs each time we deploy).
Now that we understand why we have a resolver config for each backend, let's set up a resolver that works with Docker:
Because HAProxy runs inside a container running on Docker, it will have access to the local DNS server set up by Docker on that container. By default, for a Bridge network, this DNS server listens on 127.0.0.11 and port 53
With these pieces in place, we can deploy the whole thing. This deployment method uses Docker as a process manager (to keep your app up and running and restart it when needed). Technically you can replace Docker with any process manager or just run each piece of this setup on the OS. The only thing you'd need to take care of in such a case is to start each one of the backend processes on a different port and reflect that in the HAProxy backend configuration.
When running HAProxy locally, we can mount the config file onto a volume and use the base HAProxy image. However, as we need to run HAProxy on a server, we will build an HAProxy image from the HAProxy base image and include the configuration file in it. This is done as part of the build script (see above).
Deployment Script
We've now built our app and HAProxy + config into two Docker images. The next step is to push these images to the server and start the containers. All of this is done using a simple script that runs Docker commands. This script can be written to SSH into the server and run these commands, but I didn't want to complicate the post more than necessary to communicate the principle of this method. As such, we will copy the script onto the server manually in the Deployment section below.
You also need the socat tool installed on your machine (on a Mac, you can run brew install socat). socat is a tool to communicate with TCP or socket endpoints on *nix machines. We use it to talk to the HAProxy API.
I am using a ruby script for this deployment. The script is there to automate the flow. You can do the steps manually, and without any need for ruby, but a script and automation will allow you to link your deployments to your CI/CD or git repository via hooks or a CRON-based regular checks.
The script can do three things: start HAProxy, stop HAProxy, and all the backends and deploy the application. The script also creates a Docker Bridge network (see the next section below for more info)
Here is the script in full:
deploy
The script might look long, but it's really simple. Here is the breakdown:
Up (initialize)
We first need to set up a Docker bridge network so HAProxy and the app can talk to each other. This method creates the network if it doesn't exist, pulls our HAProxy image (with the given tag) to the server, and starts it.
Deployment
Deployment in our use case means starting a new backend and stopping the old one. We are doing this here:
As you can see, this method tries to find out which backend is inactive (not running) and starts that first. To detect which backend is not running, we use HAProxy API:
This looks pretty convoluted (what useful bash script doesn't?), but the main point here is that HAProxy API output is not JSON but space-delimited lines. For example, to get the status of all backends called web you'd run something like this.
The method above uses awk and grep to parse the output and looks for a valid IP address. If no IP address is available (like - in the example above, for web1) then the backend is not running (i.e. the resolver couldn't find the IP for it).
The method returns true or false for a given backend by name.
Once we know which backend is running, we can start and stop them accordingly:
Rolling out
I want to roll out the app to a cloud server using this method so that I can see how real cloud network infrastructure will affect how traffic reaches my application. This is important, especially when you want to know the caller's (visitor) IP address, for example.
I'm using DigitalOcean, but the instructions here are the same for other providers. Once you have your server up and running, install Docker on it. I am using Ubuntu 20.04, so this is a good source to follow. You may also need to install Ruby and socat on the server, since our deploy script needs them.
You can do this on Ubuntu with the following command:
Now, let's copy deploy onto the server:
Now SSH into the server and set up the server with the deploy script:
As we saw above, the first command creates a Bridge network, downloads our HAProxy image onto the server, and starts it on port 80. At this point, if you visit the site by typing in the server's IP into a browser, you'll see a "503 Service Unavailable" error. This is because we don't have any backend services running yet.
Now, let's deploy our first backend:
TAG here is the tag generated by our build script.
Once the backend is deployed, you can see the app running on the server. After this step, we can use ./deploy deploy TAG with a new tag to deploy a new version of our app to the server.
You can now use your cloud provider's load balancer to make the setup more resilient. The steps to set up a load balancer differs for each cloud provider and are usually fairly simple. In this example, I'm continuing with DigitalOcean:
- Open the Networking tab and add a new load balancer
- Choose the region and the droplet you have your app running on
- Configure the ports from 80 to 80 (default)
That's all. Now you can see your app by visiting the load balancer's IP address.
Scaling
To scale your deployment to two servers:
- Fire up another server
- Install Docker, Ruby, and Socat on it (see above)
- Copy the deploy script over to the new server
- Run
./deploy up TAGand then./deploy deploy TAG - Add the new server to the load balancer
Next Deployment
After this point, you can just run ./deploy deploy TAG for the latest build of your code on every server.
Summary
This method is a fast and easy way to deploy applications. However, like anything simple, there are tradeoffs.
High Availability
If applied without any further load balancing, this method does not produce a highly available setup. If your node fails, your application will not be responsive. However, in many cases, you will have a load balancer from your cloud provider placed in front of multiple nodes with the same setup. A load balancer will then check the health of each node independently and redirect traffic to them only if they are healthy. A failed node will then be taken offline until you address the issue.
Build and Deployment
Although we have a deployment script for this method, to deploy the app to all of our servers, we will need to run it on each server one at a time. This is not ideal but can be improved if you make the running of the script automated based on a schedule, hook, or other means.
Pros
- Simple to set up and understand. Easy to debug.
- Suitable for small projects running on a single node (host).
Cons
- Requires external (cloud) load balancer for high availability.
- The deployment script needs to run on each server and could result in inconsistency in the application version as the rollout progresses.
I hope you found this useful. Next week, we'll explore another method to deploy this web application to a cloud provider using Docker Swarm.