
 Command Palette Example by Tailwind UI
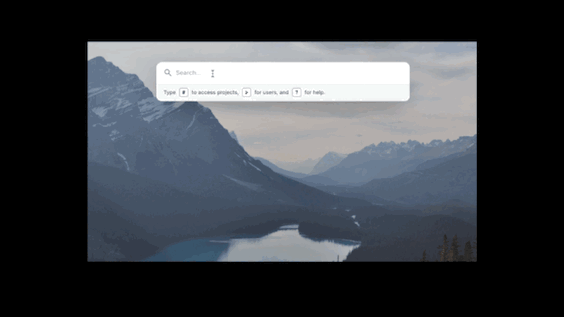
This is the first part of a multi-part post focusing (mostly) on front end search and Command Palettes. If you are not familiar with Command Palettes, they are a power-user's dream: a universal overlay on your webpage that's triggered with a key shortcut (usually Command + K) and allows your users not only to search the content but also perform actions on your website. The goal here is to "keep the user's hands on the keyboard" (and away from the mouse), when using your application.
Naturally, a command palette needs a search facility and while there is nothing in the definition of a command palette that is about speed, as a power-user feature, a super responsive command palette is what makes all the difference in usability. After all, if it takes 2 seconds for a command palette to return the search results, you might as well just use the mouse. Also, the command palette should search as you type. This means you can preview results as you type and correct or refine your input, which requires a super-fast search facility on your site.
Ultimately I'm going to build a command palette for my Tickerizer application, using Rails 7, ESBuild, View Components, and all the goodness of Hotwire. But in this post, I'm going to walk through building the foundation of a good command palette: super-fast search. I've written about server-side search in Rails with my new favorite search engine Meilisearch, but here I'm going to use Lunr, a frontend-based search engine that is perfect for this use case.
What is Lunr?
Lunr is a small search library, written in Node.js, that indexes and searches your documents on the client-side (i.e. in the browser). Instead of indexing documents on the server with tools like Elastic or Meilisearch, Lunr search is fast because the index is right there in the browser. This has its downsides, from reduced functionality in search queries to limits on the size of each document and on the size of the index. However this could be the perfect solution for something like a command palette when you need fast search of commands and some basic attributes of your resources that can then be enhanced with server-side search.
Elastic Search, which is a server-side search engine is based on Solr (which itself is based on Lucene). Hence the name Lunr, for a client-side search!
Ok, with that intro, let's get to adding Lunr to our Rails application.
Creating an index
Lunr requires very little set-up to build an index. You need to import the library on the page (via your asset pipeline, webpacker, yarn, npm or one of 8,000 other Node.js-based package managers and compilers out there) and then do something like this:
Now idx is your Lunr index and can be searched:
Which will return something like this:
There is one important note here: unlike other search engines, which store the documents, Lunr only stores the index to the document. This means you'd need to keep the list of documents next to the index yourself. More on this later.
Contextual Searches
One of the nice things about command palettes is that they can be contextual. This means they will return different results based on where you are on a page. For example, in our main application, the top "Global Search" bar is powered by Lunr and is contextual, like a true command palette. If you search for "deployments" when you're on the dashboard, the results will include all of your applications that have the word "deployment" in them. But if you do the same search on an application detail page, it would return the commands for deploying the application itself.
Achieving something like this can be difficult with a normal search engine that has a static index. But with Lunr, you can build the index for each page as you enter the page and include contextual results in the index based on the user's location.
Ok, enough text, let's dive into some code.
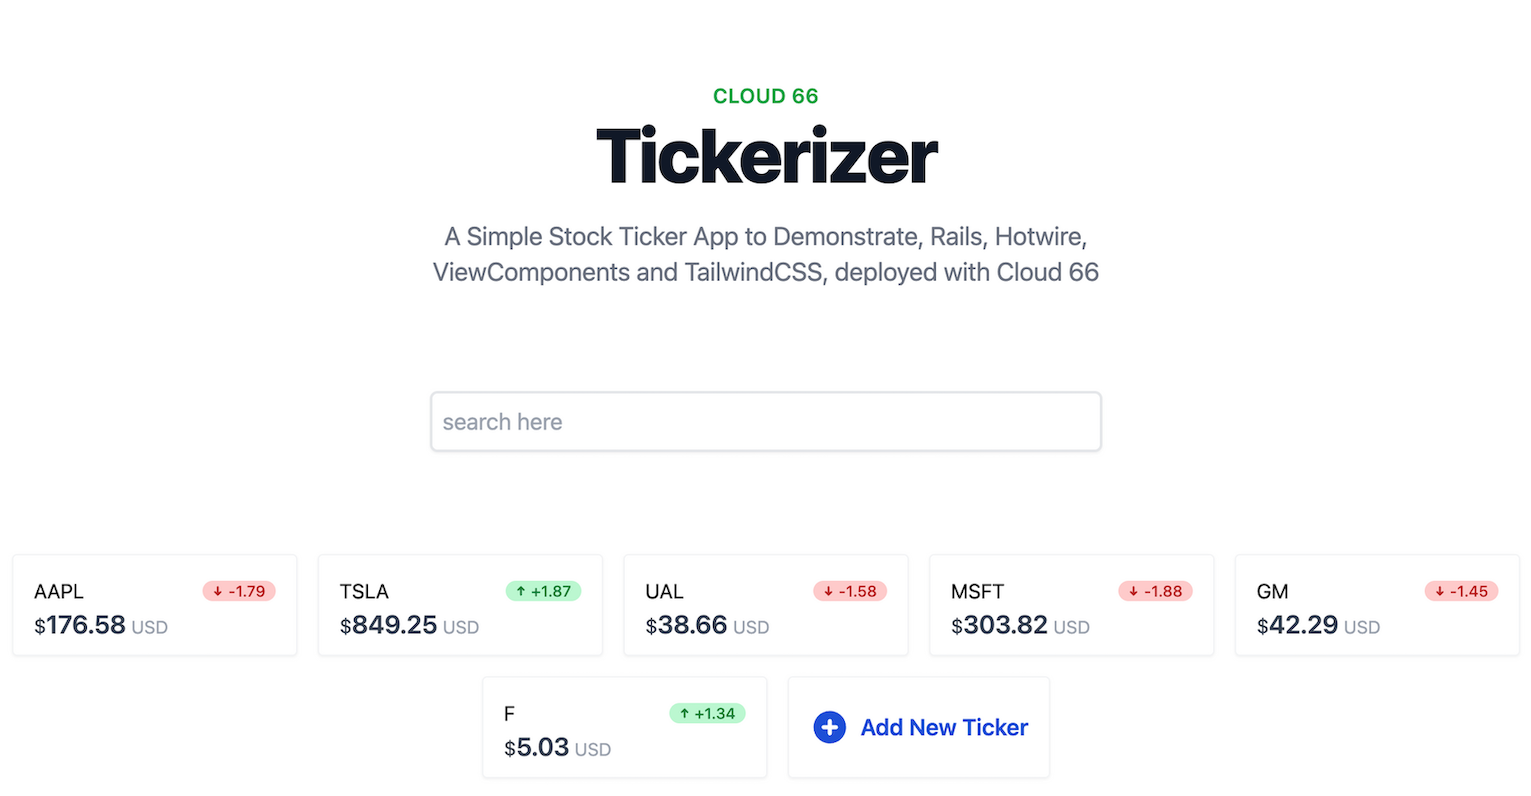
Tickerizer is a small Rails application I wrote a while back to showcase using Rails with Hotwire and TailwindCSS alongside ViewComponents. I think together, this trio delivers an amazing combination of power and fast development for web applications that feel snappy, look good, and are easy to maintain by everyone on your team.
For this post, I'm going to add a Command palette to Tickerizer. This Command palette will give the user the ability to add new tickers to their list.
First, I'm going to add Lunr to Tickerizer:
Now let's build an index of all stock symbols we have in the system. For this, I've added a file to the project symbols.json that list +8k stock symbols.
To build the Lunr index, I'm going to create a SearchController which will send what needs to be indexed to a small Stimulus JS file that runs Lunr and stores the index and the documents.
First, the Ruby code that loads the symbols and returns them as JSON to the caller:
initializers/symbols.rb
controllers/search_controller.rb
Since Lunr only stores a reference to the document, we need to add an index that returns documents. This can be done in different ways, but here I'm using a simple (and not very efficient) way of adding the index of the array to the document which will be used by the JS when a search is found.
routes.rb
Now we have all the documents that need to be indexed by Lunr available to the JS caller. Let's move on to the JS part (you need a little bit of familiarity with Stimulus for this part):
javascript/controllers/search_controller.js
Next, we need to add this controller to the Stimulus controllers. This can be done either manually, by adding a reference to the controller in javascript/controllers/index.js or by running the rake stimulus:manifest:update task.
Now let's drop a search bar on the page and link it to this Stimulus controller:
_views/search/search.html.erb
... and render it on the page:
_views/tickers/index.html.erb
With this last piece in place, we have a search bar on the page:
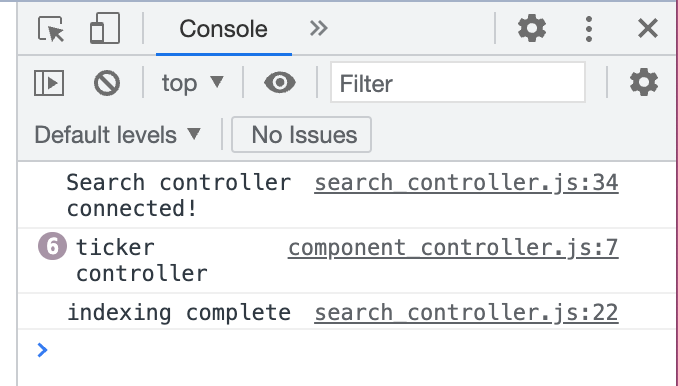
We can also see that the documents are indexed by Lunr, in the browser console:
Now let's add the search JS function to the Stimulus controller:
javascript/controllers/search_controller.js
I've removed the TailwindCSS styling classes from this example for clarity, but you can find them in the Tickerizer repository.
Summary
Adding JS-based indexing of documents is suitable for certain scenarios when your index size is relatively small and changes infrequently. When used in the right setting it creates a very responsive user experience without the need for any server code, search engine or infrastructure.
In the next post, I will replace this search bar with a Command palette and contextual search using Lunr.