You've decided to embark on the journey to microservices. Perhaps you have an existing application written in Ruby, Node.js, or another programming language. Or, perhaps you're planning a brand new application and want to see how microservices might help? It can be daunting to look at all of the work required to get things going: Docker infrastructure, service discovery, distributed logging, messaging - the list goes on and on.
This article will help you with getting started with microservices. Along the way, you'll get introduced to some of the Cloud 66 features that'll help you stay focused as you kickstart the process, while avoiding many of the infrastructure tasks of a do-it-yourself approach.
Selecting the 'style' of microservice
The first step to any microservice architecture is mapping out how your microservices will interact. The microservice style you select will drive many of the decisions needed around how to deploy your microservice architecture.
A common approach is to access private microservices via a REST (or similiar) request/response interface from a web tier or public-facing REST-based API. This is sometimes called a layered API or Backend For Frontend ("BFF") approach. Public APIs are designed to solve external use cases that vary based on the target device, or usage patterns. The public REST APIs invoke one or more of the internal microservices as needed.
We previously covered how to build REST-based APIs using Ruby and Sinatra and Node and Express 4 to help you get started with this approach.
For microservices needing to respond to events in order to perform background tasks such as data synchronization, messages may be published to a message broker. Your microservices publish events to a queue or topic, while one or more message-driven microservices become subscribers to receive the published events and perform the necessary work. We covered this pattern in a recent article "Scaling Workloads Using Messaging".
REST-based microservices are generally easier to construct and manage, but may limit the flexibility and resilience of APIs composed of multiple request/response calls to internal REST-based microservices. Message-driven microservices are more difficult to implement and troubleshoot, but tend to be more resilient to outages when designed properly.
Whatever style you select, it will have an impact on how you containerize your application. Let's look at this next.
Creating a containerization strategy
Putting time aside to consider how you'll containerize your application is very important. For a brand new application, the common choice is to containerize each microservice separately to provide the most flexible deployment options. This has the added advantage of allowing a microservice to be redeployed independently of other services. Plus, each microservice can select the programming language and framework most appropriate to get the job done.
For existing applications transitioning to a microservice architecture, things can be more rigid. APIs and web applications may be part of the same codebase, making it more difficult to deploy them across separate containers. In this case, containerize your single codebase, then extract new microservices from the single codebase and into separate containers.
Cloud 66 offers a flexible approach to Docker container management, allowing you to start with a single container or a few small containers. Over time, you can expand the number and types of containers that you deploy.

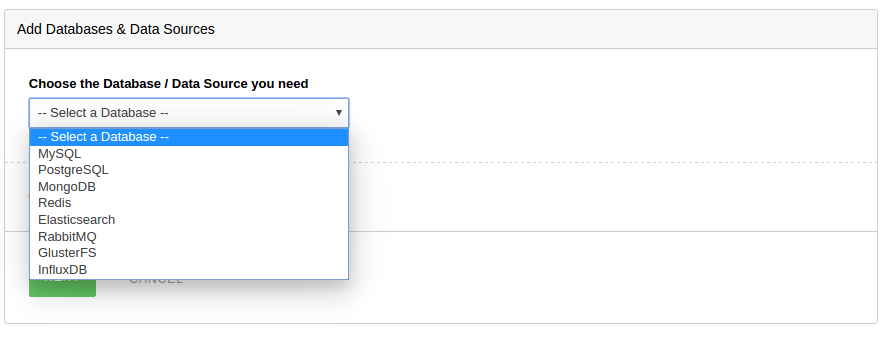
Additionally, Cloud 66 provides the option of a hosted database-as-a-service, or you can opt to use a managed database on your own, or via a third-party service. If you choose to deploy message-driven microservices, you can also add in RabbitMQ as part of your deployment:

With decisions around microservice architecture and containerization strategy out of the way, the next step is to look at the deployment process.
Creating Docker container images
For Cloud 66 to deploy your containers, you'll need to create the Docker image with your code, libraries, and other dependencies necessary to make your microservice operate. There are three options available:
- Using a public Docker image - this is common when there is an off-the-shelf tool you wish to deploy using a public Docker image
- Bring-your-own image - for teams that already have an internal container image build process, you can publish your own private image and point Cloud 66 to it. This gives you full control over the build process, including building images using code repositories or other build processes that depend on internal systems not available over the public internet
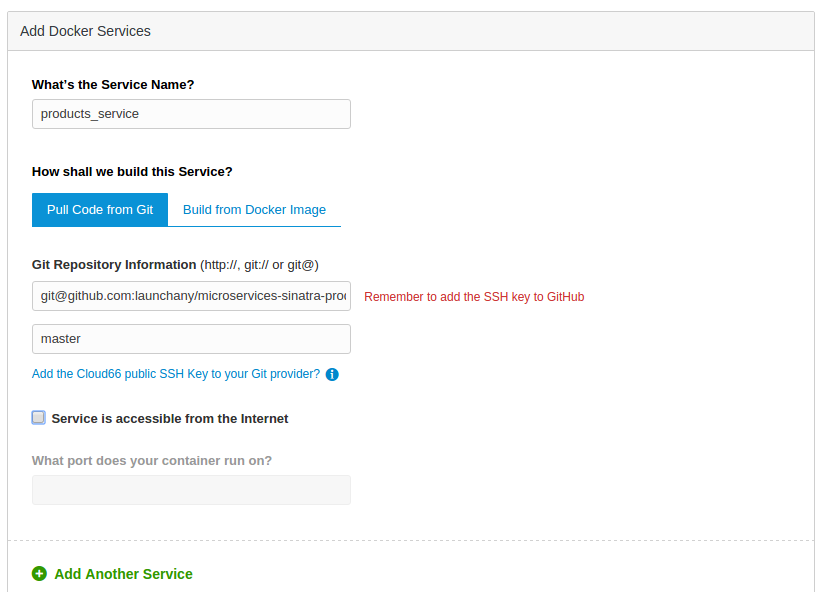
- Cloud 66 BuildGrid - if you wish to get started quickly and with the least overhead, this is the best option. Give Cloud 66 access to your public or private Git repo and the container image will be built for you

When in doubt, start by allowing BuildGrid to create container images for your microservices. If you need more control, or need to integrate with internal systems not available publicly, you can build your own images.
Selecting a container-ready cloud vendor
When embarking on the microservices journey, you'll find that cloud vendors offer different ways of deploying and managing containers. This can make experimenting with different cloud vendors more difficult, even to the point of accepting a less-than-optimal provider to avoid re-working your deployment process.
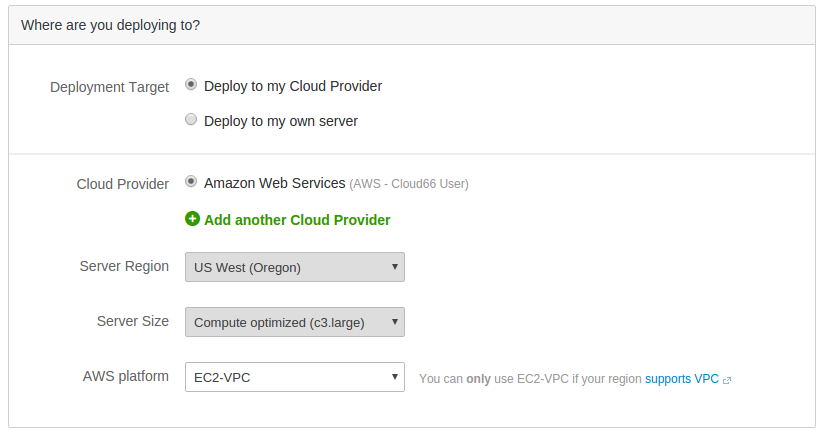
Cloud 66 removes this risk by allowing you to choose any of their supported cloud vendors to deploy and manage your containers. You can move to a new cloud vendor as desired, or deploy to multiple cloud vendors simultaneously for high availability. Deployment, Docker image creation, and service discovery will operate in the same way no matter which option you select.

Assembling your application stack

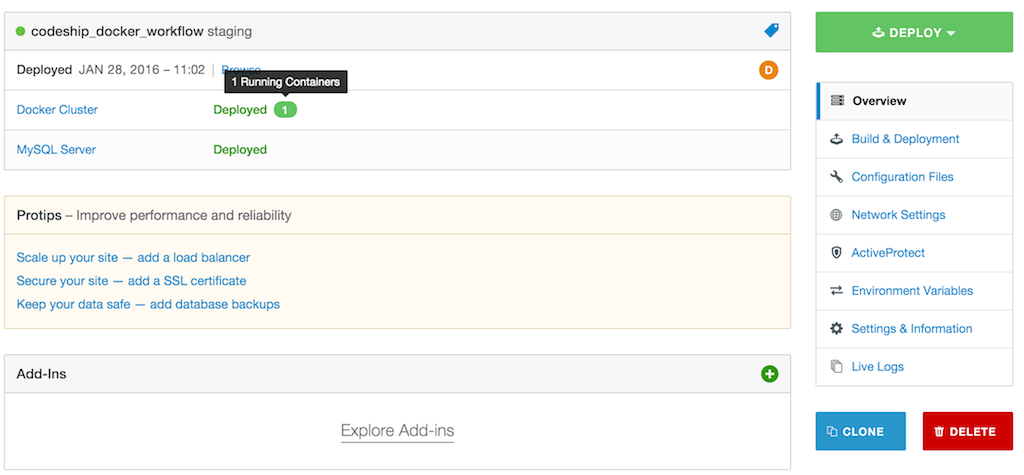
One option for deployment is to do it all yourself - from provisioning and configuring servers, to automating the build and image creation process. The problem is, this can be an error prone and time consuming process, as we've detailed before. Cloud 66 removes much of this effort, allowing configuration files to define the containers and deployment steps required to deploy each microservice and any public APIs, web apps, and other services. Plus, you can view logs across all running containers for easier troubleshooting.

Moving to a microservices architecture requires some up-front planning to keep the deployment process from becoming fragile. From service design to deployment and monitoring, there are several considerations for deploying a microservices architecture using Docker. Hopefully this article has helped outline some of these important decisions, while explaining how Cloud 66 can help accelerate the deployment process.
