
Understanding Feature Flags
What Are Feature Flags?
Feature flags are a way to affect how your application behaves at runtime, without having to deploy new code. As the name suggests, they can be used to switch certain features on or off depending on a specified rule.
A type of feature flag you have probably already encountered can be implemented as simple environment variables. Consider the following code you typically find in every Rails app’s production.rb:
The primary benefit of feature flags are faster iteration cycles, because no rollback has to be executed at the code level should something go wrong. In the above example, the environment variable RAILS_LOG_TO_STDOUT just has to be unset and the application server restarted. As a side note, this type of separation of configuration from code neatly coincides with the concepts of the “Twelve Factor App”.
Use Cases
When should you use feature flags? There are a variety of use cases which can broadly be organized in three categories:
Experimentation
Many organizations use feature flags to gradually roll out new features to a small number of beta testers before making them available to the general public. This includes any form of split testing, including traditional A/B testing and other, more fine grained ways to partition the user interface.
Circuit Breaker
Feature flags can also be used to temporarily disable features, e.g. for maintenance or incident mitigation. Suppose a third party service on which your application depends goes down: instead of hammering their API with requests and producing a lot of HTTP 500 responses, it’d be better to deactivate the integration for the time being. A feature flag enables just that.
Development Workflow Foundation
In a trunk-based development approach, feature flags can play a crucial role in enabling continuous integration into the main branch. Developers can integrate their work frequently, using flags to control the visibility and activation of new features. This separation of deployment from release minimizes the need for multiple branches, thereby reducing merge conflicts and streamlining the development process. Feature flags thus support a more efficient and agile workflow.
Comparison with Canary Releases
Canary releases are sometimes confused with feature flags. Both approaches share the fundamental goal of improving software release management by allowing for safer deployments and better control over how new features and versions are introduced to users. Both methods aim to reduce risks associated with deploying new software by providing mechanisms to limit the exposure of new changes to the entire user base at once.
However, feature flags and canary releases differ in implementation and focus. Feature flags are embedded in the application code, enabling developers to toggle features on or off independently of the overall deployment. This provides precise control over feature releases and is suited for A/B testing or targeted rollouts. Conversely, canary releases deploy full new software versions to a limited user group initially, managed at the infrastructure level to monitor overall performance and stability.
Both methods tackle different scenarios. Feature flags are ideal when you need to test new features independently. They allow you to quickly revert them without impacting the entire system. Thus, they are particularly useful for incremental development and testing in a live environment. Canary releases, meanwhile, are useful when introducing significant changes that might impact the system's stability. They allow you to monitor the effects of a new release on system performance and user experience in a controlled manner.
Tip: Cloud66 provides seamless management of Canary rollouts.
Choosing a Feature Flags Framework for Rails
Selection Criteria
Choosing between the many options for implementing feature flags necessitates a list of criteria to gauge them by:
Community Support
A robust community ensures access to extensive documentation, support, and regular updates. This can significantly ease integration and troubleshooting, and can serve as an indicator for the long-term sustainability of the framework. To gauge community support, I suggest taking a look at the number of open issues or pull requests on Github. Another indicator is the frequency of patch releases and whether there is support for the latest Rails version. Finally, check for the existence of a forum or a community chat, such as a Discord server.
Ease of Use
The framework should be straightforward to integrate and manage within your existing Rails environment, minimizing the learning curve and operational overhead. Especially for non-technical stakeholders who may need to interact with the feature flags system, ease of use is particularly important.
Concerning integration in Rails, you could look for adapters or guides for popular authorization frameworks such as CanCanCan or Pundit. Feature flags almost always boil down to a “who can access what” conditional, so passing this concern down to the authorization level feels natural. Also, when onboarding new developers onto a team, a mutual understanding of where to put feature flags is paramount, otherwise you’ll end up with a soup of feature flags spread around the entire codebase.
Regarding non-technical stakeholders an intuitive admin user interface to put the individual actors on display is essential.
Performance Hit
You should evaluate the performance implications of each framework to ensure it does not degrade your application’s responsiveness or efficiency. Here are some key points to consider:
Performance can be affected by increased load due to frequent checks against a database or external service, especially if these checks are not cached and occur on high-traffic paths. Additionally, ineffective caching strategies can cause each request to redundantly verify feature access, adding unnecessary computation and latency. Network latency also becomes a concern with flags managed by third-party services, particularly if synchronous communication is required during request processing. Together, these factors can significantly slow down response times and affect overall application performance.
Sadly there’s no universal rule of thumb to assess these factors from the outside without either browsing the documentation or researching relevant blog posts. Flipper’s docs, for example, go into great detail regarding how they leverage techniques such as memoization and caching to keep the performance impact minimal. Eventually, only setting it up and running it, in combination with application performance monitoring such as New Relic, DataDog, AppSignal etc. will give you accurate measurements.
Memory usage and complex flag evaluation can also impact performance negatively: Some frameworks may load all flags into memory, which can increase memory consumption, particularly problematic in resource-constrained environments. Additionally, if feature flags involve complex rules or multiple dependencies, the evaluation process can become slower.
To evaluate a feature flag framework’s memory impact, look for things like:
- Memoization: are calls to the feature flags store memoized in a request cycle, or is a new object instantiated every time?
- Preloading: If you have a lot of feature flags, take care that your framework does not preload them all into memory at once. Look for advanced configuration options to turn preloading off, for example on a route basis.
Storage Adapters
Look for frameworks that support a variety of storage options, from databases to caching backends (e.g. Redis) or API calls to external services. This can help future-proof your application and ease migrations to other services or adapters.
Hosting Options
Consider whether a self-hosted, cloud-based, or hybrid solution best fits your operational model and security requirements. Self-hosted solutions offer more control and customization but may require additional infrastructure and maintenance overhead.
Cloud-based or hybrid options can provide scalability, reliability, and reduced operational burden, but they present another risk in your operational strategy and can lead to a large performance hit (as detailed above) when not configured carefully.
Overview of Popular Options
Now that we’ve established the conceptual groundwork to evaluate feature flag solutions, let’s look at a couple of popular options. Some of them are self-hosted, some are cloud only, and some employ a hybrid of both hosting mechanisms. A couple of them are Rails-centric, the rest are more general-purpose.
Let’s go through them one by one:
Flipper
The elephant in the room, conceptualized and maintained by former GitHub engineer John Nunemaker, Flipper is the best known, and to my knowledge most versatile Ruby-specific choice. It employs a hybrid approach to hosting your flags to ensure even if the cloud backend goes down, your app will not. Using their cloud service isn’t required though, making it suitable for simple applications without needs for extensive horizontal scaling or multiple environments. In fact, using one of their several storage adapters and the Flipper UI, it’s trivial to deploy a whole feature flag backend yourself.
Rollout
Rollout is Flipper’s older cousin, and its reduced API may just be what you need to deploy a no-fluff feature flag backend. It only supports Redis storage though, resulting in fewer possible breaking points but possible larger operational overhead by having to manage another (or multiple) Redis instance(s) in your cluster. There’s an official admin user interface to manage your features as well.
LaunchDarkly
LaunchDarkly is a cloud-only commercial solution employed by many renowned companies. It sports a comprehensive Ruby SDK and includes advanced features such as:
Importantly, it also features an offline mode to cache flags locally in case of a network service disruption.
ConfigCat
Another cloud service offering feature flag functionality is ConfigCat. Their feature set is a bit less comprehensive than LaunchDarkly’s, but they do offer a free tier for trialing purposes. They also cache feature flags locally and synchronize them by automatically polling them from their CDN. You can configure the polling mode and frequency. Importantly, they use a local caching setup to minimize the amount of network traffic, but the mechanism isn’t entirely clear. Specifically, the docs state that…
“ConfigCat SDKs in their default setup store all the information they need for feature flag evaluation in memory.”
Given a large feature flag set, this could potentially bloat your application’s memory footprint significantly.
Implementing Feature Flags in Rails
Preparing the Lab with a Sample App for Experimentation
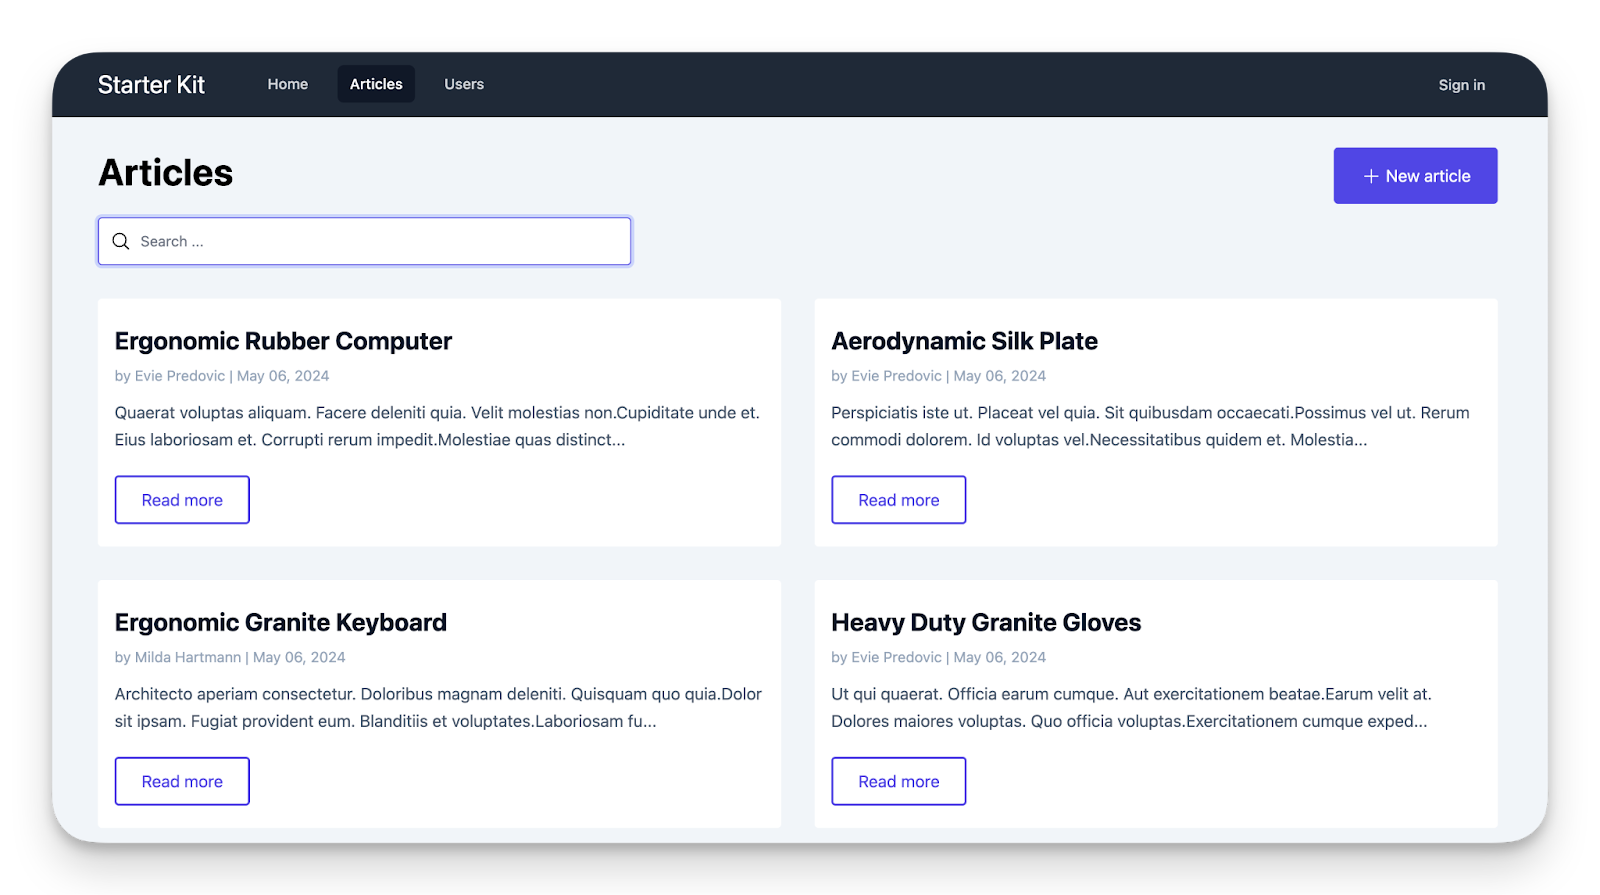
To quickly jump into experimenting with feature flags, we are going to clone https://github.com/ralixjs/rails-ralix-tailwind, a simple blog CMS starter kit. We are going to expand it by a new feature (likes) and test out how feature flags work.
This gives us a sample app to start with. Let’s find a user to sign in with:
The user password, as per the seeds script, is always “1234asdf”. Let’s now add the Flipper gem along with its ActiveRecord storage adapter and a web user interface:
The last step will generate the necessary database migrations, you just have to run it:
Let’s now assume that a new requirement has come in: Liking articles. We’ll go through the domain modeling and business logic of this feature next.
A Like, expressed in ActiveRecord associations, is best modeled as a many-to-many relationship between the Article and User models. Each User can like each Article exactly one time, so a join model between these two entities should capture it neatly. Let’s set this up next:
This yields the following migration:
Let’s finish this by declaring the respective associations in the model files:
Now, let’s add the business logic for this. We’ll add a likes route and implement the create and destroy controller actions:
Finally, let’s wire this up with our user interface. To do this, we’ll first amend our ArticlesController to retrieve the Like pertaining to the present article and the logged in user if there is one:
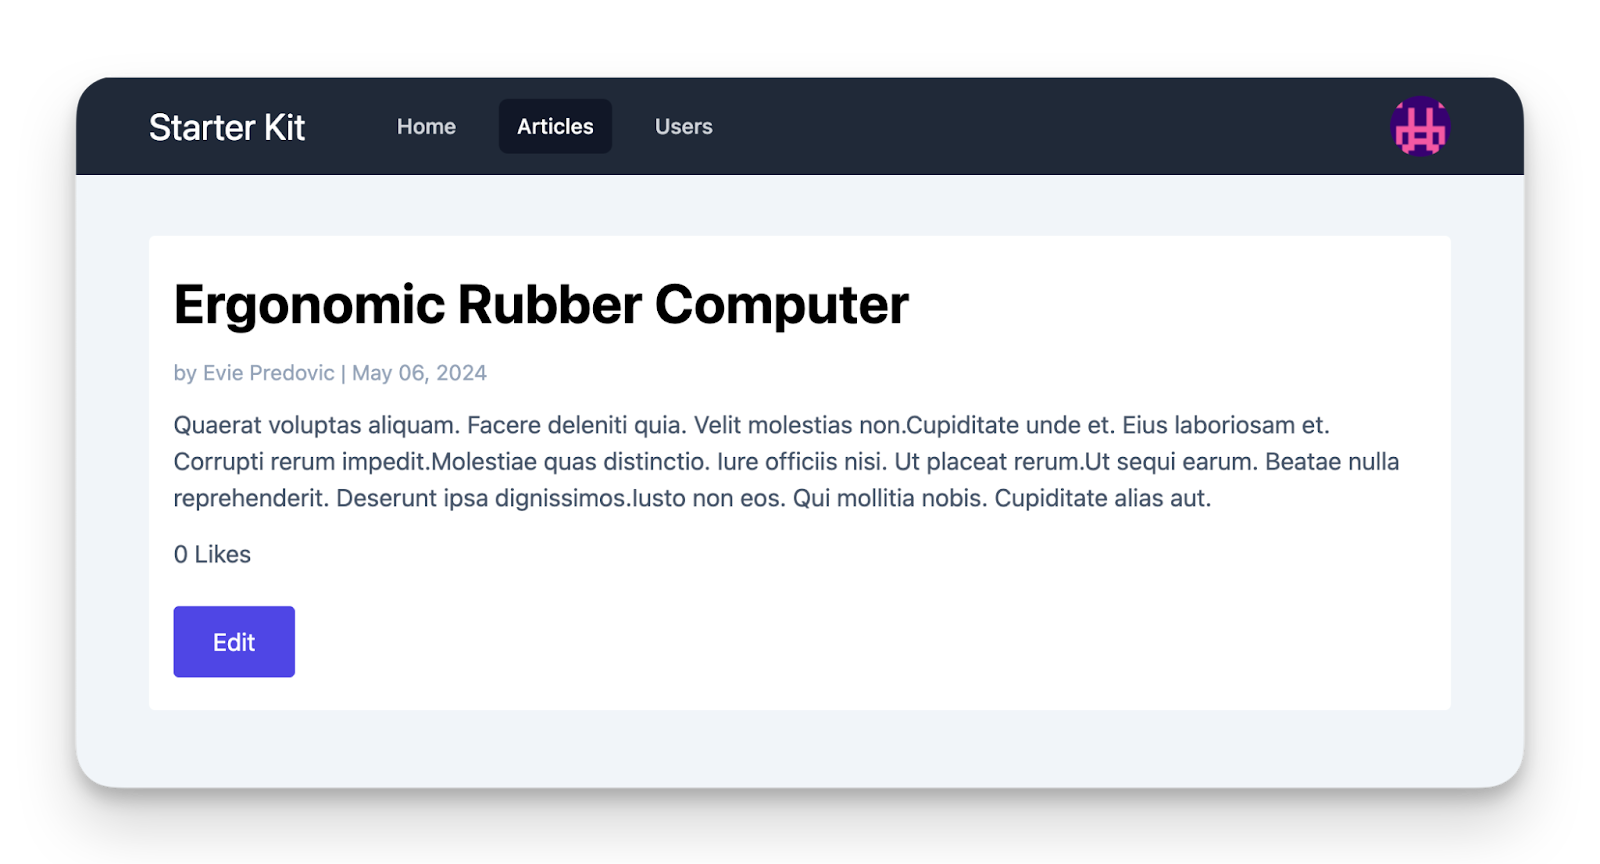
In the corresponding view file, we’ll add a counter, as well as
Observe that the button is toggled according to the presence of a Like. If we open a browser and look at the result, it looks like this:
Implementing Feature Flags
To continue our research into feature flags in Rails, let’s assume that liking and unliking are operations that we would like to roll out slowly to a small number of hand-picked users first. For simplicity, let’s further suppose we want to activate this functionality for individual users, or actors. We will get into more sophisticated approaches to segmenting actors below, but let’s keep it straightforward for now. In Flipper, this is accomplished by just calling theenabled?method with the respective feature and the actor as parameters:
The question now is, where do we have to put a conditional to en-/disable this feature? Let’s start from the bottom up: The controller level. Even if a user might get hold of the /likes route, we don’t want him or her to manually send POST and DELETE to it.
Above, we have added a guard to restrict who can call the create and destroy routes respectively. But this isn’t enough, because a Like button without functionality in the view would be confusing. So we have to add a conditional to the show view, too:
As intended, the Like button has disappeared from our page:
But how do we re-enable it for our test user now? For this, we have to spawn a Rails console again and call:
And we’re up and running again.
Combining Feature Flags with Authorization
If you care about code organization, something about the code above probably bothers you. Spreading out access control like this over the view and controller layers like this is prone to lead to shotgun surgeries. Moreover, your app might necessitate other authorization features, such as distinguishing between admin and regular users.
Typically, Rails developers reach for libraries like Pundit, CanCanCan or ActionPolicy to address this. It feels natural to add feature flags to this layer to control access to a certain functionality.
Our example application already comes with CanCanCan preinstalled, so we will explore how to extend it to use our feature flag system.
Let’s first look at the built-in Ability class. It already has two rules for who can access and modify articles. We will add another one for defining who can create or destroy a Like:
If you aren’t familiar with CanCanCan’s DSL, here’s the gist: every can call defines an ability, the method signature being can actions, subjects, conditions. Thus, they first express that any user can read and create Articles, while users can only update and destroy their own articles (that’s what the user: user condition says).
The new rule denotes that any Like (note that we do not make use of the block argument _like) can be created and destroyed only by users for whom the feature flag is activated.
What does that mean for our business logic and view templates? As for the controllers, CanCanCan comes with the nice authorize! helper we can employ to confirm that a user has the respective ability:
The view code changes only slightly:
While this change seemingly does not reduce the overall complexity, you’ll agree that centrally defining access rules greatly improves maintainability.
Feature Flags at the Routing Level
Sometimes you want to limit access to an entire route. Using custom Rails routing constraints this is very viable. Let’s say we put this constraint in app/constraints:
Essentially, we implement matches? in such a way that it checks an incoming request against an arbitrary feature flag. Note that we have to fall back to plucking the current_user from the requests environment manually, because the Rails routing layer is invoked before any part of the application is available.
Now we can add the constraint to the likes route:
After this change, every attempt to create or destroy a Like will result in an HTTP 404 error.
Client Side Feature Flags
Using feature flags to switch purely client-side functionality on and off is a bit more involved and requires a bit more setup. As with any other scenario of sharing state between server (where our feature flags are stored) and client (where they are needed), we have to provide a way for the client to consume them. In other words, we have to code a feature flag API.
A full fledged example is beyond the scope of this article, but John Nunemaker has a post outlining the basics. Note, though, that as client side code is always accessible and inspectable for the end user, it is theoretically possible to circumvent feature flags at the frontend by manually injecting different values.
Multi-Environment Support
When developing code in larger organizations, a requirement that pops up sooner or later is to make the execution and management of feature flags dependent on environments. Whether you are developing locally, the company’s QA team is reviewing a new feature, or the app is running on production servers - you typically have a different set of features enabled.
Let’s assume for a moment that our development team consists of two people. Developer 1 has been working on the Like feature, while Developer 2 has been occupied with something else. The change is rolled out to production for beta testing, and development continues. Now, Developer 2 is tasked with refining the Like feature, but she can’t until she enables the feature flag locally for her test user. This is what we call configuration drift and is largely exacerbated in a trunk-based development setup, where loads of feature flags are created and deployed every day.
Here’s where cloud-aware solutions like Flipper Cloud come in, because using them the local development environments can be configured to mirror production. Furthermore, they often support the option of creating personalized development environments, so that each developer can flip features on and off at their leisure, while still enjoying a default setup provided by the devops team.
Maintenance
While feature flags can tremendously simplify your release management, they don’t come without a maintenance cost. Especially in trunk-based development, where feature flags are wholesale created and used to organize releases, you have to employ a very disciplined devops regime to keep your feature flags roster manageable. Plus, as indicated above, this burden exponentially increases with every additional environment you add to your application’s ops setup.
A first must-have, therefore, is an admin interface to keep track of your flags. Luckily, even the self-hosted version of Flipper ships with a solid UI - Flipper UI - which we have already added to our bundle. Let’s mount the respective route (Note: Keep in mind that in a production app you’ll want to restrict access to this interface to only a handful of admin users - I’ve omitted the boilerplate for this below.):
In our case, the overview screen looks like this:
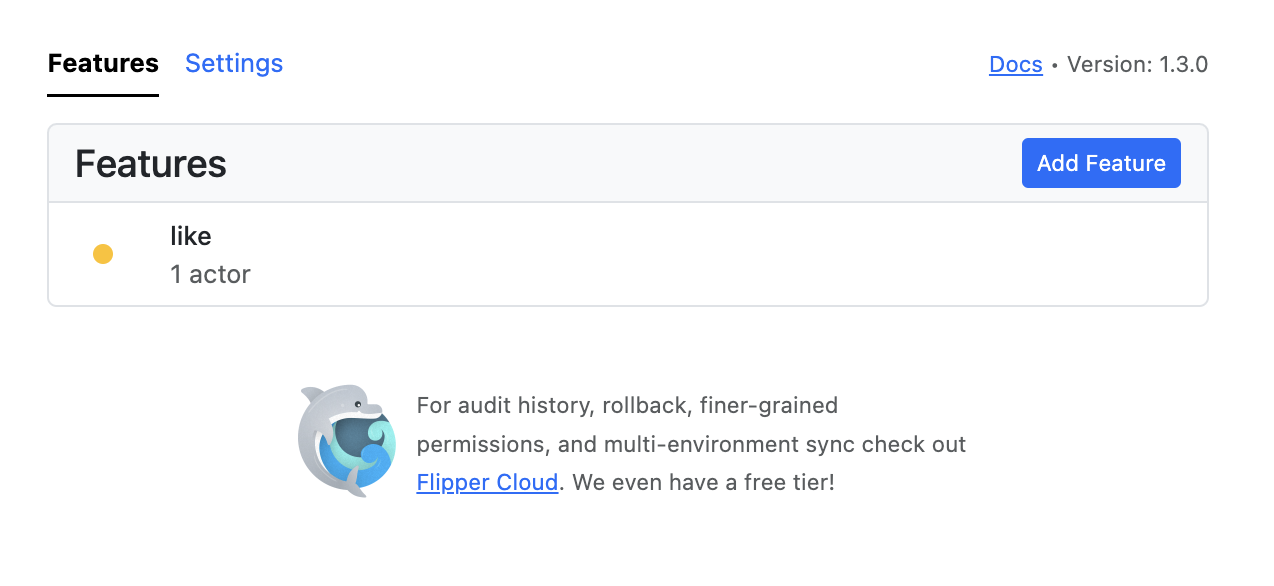
As you can see, it already reflects the fact that we have enabled the like flag for one actor (in our case, one user). Digging deeper, we can explore more details about this flag.
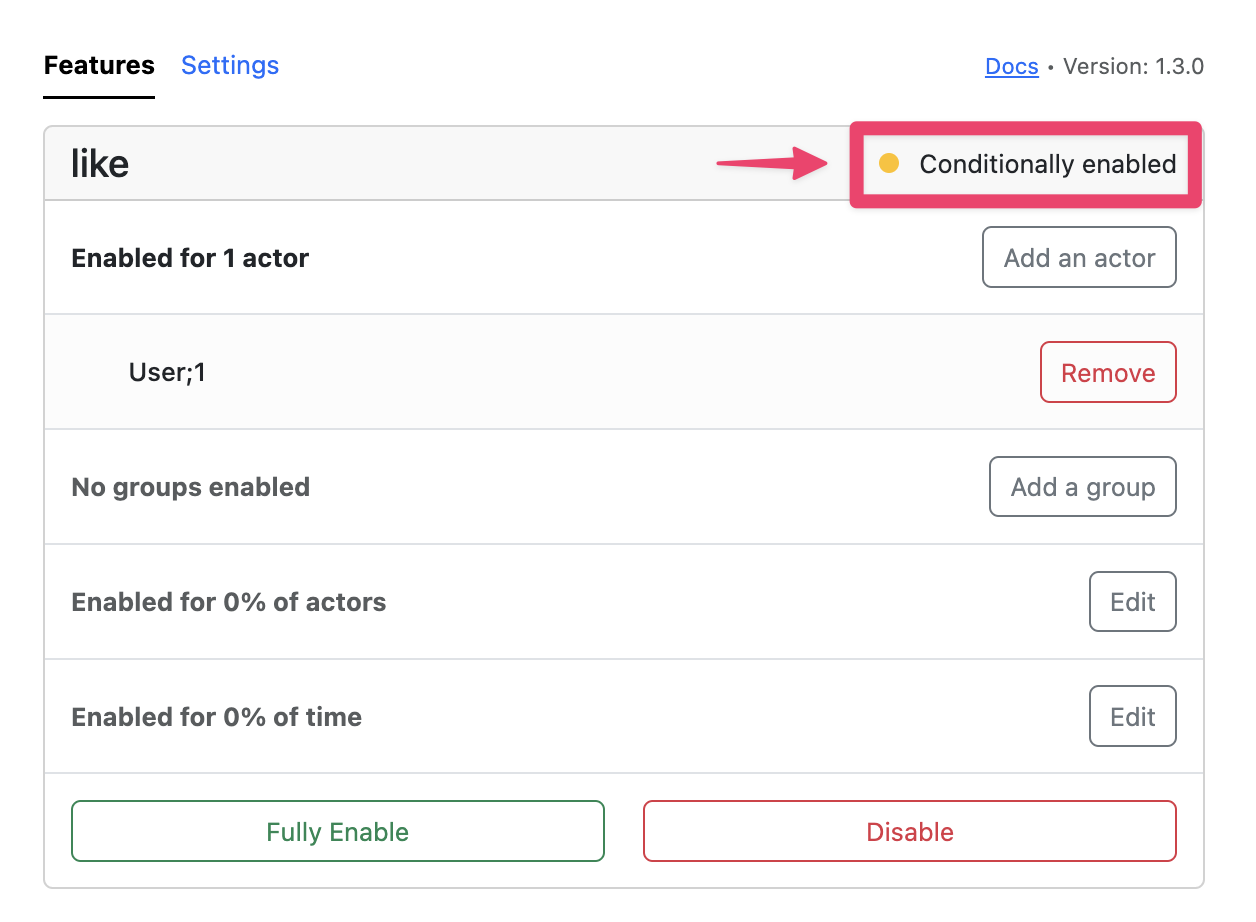
First of all, we can confirm that the actor for which the flag is enabled is indeed the user with the ID 1. We already get a glimpse of other actor segmentation strategies (groups, percentages), which we will explore in the next section. The critical maintenance information, though, is that this feature is conditionally (not fully) enabled. This brings us to the first necessary (but not sufficient) condition for feature flag pruning:
👉 A feature flag has to be fully enabled to be eligible for removal
This might be obvious, but it’s still better to spell it out.
Once a feature flag has been fully enabled, it’s time to start removing it from your codebase. Since any conditional that switches on a flag will now evaluate to true, there’s no longer a need to keep them. Depending on your application’s architecture, deleting them might be more complex than a global search-and-replace, though. The sufficient condition for pruning a feature flat thus is:
👉 There are no remaining calls being executed from the application’s code.
This might be harder to check without any telemetry hooked up to your feature flag invocations. Flipper Cloud comes with a built-in solution to track these, but it might be harder to set this up in a self-hosted version. Again luckily for us, Flipper provides instrumentation events, so in the simplest case you could just use the built-in logging subscriber. Another way would be to deploy a StatsD container to post your Flipper telemetry to and inspect it to determine which flags are safe to remove.
How To Segment Users
We’ve already seen one method to subdivide users (or requests, at a lower level) into those for which a feature has been enabled or not: by addressing a specific user via an ID. If you have a large user base, though, it’s evident that this method isn’t feasible. You will need a method to group actors, for example into backend admins, developers, support agents, etc. Additionally, maybe you want to deliberately test a new feature against a random group of actors to obtain a statistically significant sample.
Below we will examine the most common ways to divide up your actors.
Simple Boolean or Expression
The simplest case, as you might have guessed, is a true/false dichotomy. If you call…
…the feature will be enabled for every user and/or request. This is usually the last step after you’ve tried out a feature against a group of actors segmented according to a different method.
On top of that, you might want to use expressions like “equal to”, “greater than” etc. to test against certain actor properties. Flipper allows you to do this using their flipper properties feature. Note that on ActiveRecord models, the flipper_properties hash is aliased to the model’s attributes by default, but you can provide it in any other PORO yourself.
Conveniently, Flipper allows you to combine expressions:
This is a powerful feature that helps you group flag conditions without needing to define custom ActiveRecord scopes. Moreover, Flipper properties can be reused among different models.
(Groups of) Actors
We have already witnessed the simplest case of addressing an actor: By enabling a feature for a specific combination of a model and a unique ID. We’ve done this before using…
…and confirmed it in Flipper UI, where the flipper_id was displayed. To conform to Flipper’s actor duck type, an object has to respond to the method flipper_id. The default implementation for ActiveRecord uses a combination of the model name plus the record’s ID, e.g. “User;1”. Note that to mitigate performance impacts, Flipper caps the total count of actors at 100 per default.
To accommodate larger batches of users it is recommended to pack them into groups. Flipper, for example, lets you register a group and define it in a block (typically you’ll do that in an initializer):
You can then enable a feature for a group:
Percentage of Time
Sometimes you have done a refactoring or optimization behind the scenes and want to know how it performs in your production app ahead of time. This is a use case for enabling a feature for a percentage of time (i.e., calls of the respective feature flag):
This feature will now be enabled for 25% of all calls to Flipper.enabled?(:memory_optimization).
Therefore, the use of this segmentation type is discouraged for user-facing features, because it will result in an inconsistent experience.
Percentage of Actors
Contrary to percentage of time, this type of segmentation results in consistently turning a feature on for the same group of actors. You can use this to slowly increase the percentage until you reach 100% (a full rollout):
Storage Backend - Cloud vs Self-Hosted
We have already briefly touched upon the various hosting possibilities when reviewing popular feature flag frameworks - self-hosted, cloud-based, and hybrid ones. In this section, we will do a more deep examination of the differences, pros and cons. Additionally, we look at common fallback mechanisms that are employed as failure mitigation.
Overview
Cloud-hosted feature flag frameworks operate by storing and managing feature flags on servers maintained by a third-party provider. Developers integrate the framework into their applications via SDKs or APIs, allowing them to toggle features on or off remotely. This setup offers ease of use, scalability, and reduced maintenance, as the service provider handles infrastructure and updates. It is also naturally better suited to scale horizontally. This allows teams to focus on development rather than operations. However, it may come with higher costs and potential data privacy concerns, as sensitive information is stored off-premises.
Self-hosted solutions, on the other hand, involve deploying the feature flagging infrastructure on the organization’s own servers. This provides greater control over data and customization options, making them ideal for organizations with stringent security requirements or specific needs. Developers still use SDKs or APIs to integrate feature flags into their applications, but the management and storage of these flags are handled internally. The trade-off includes increased responsibility for maintenance, updates, and scalability, which can be resource-intensive. In particular, rolling out feature flags consistently over multiple servers or database replicas can be challenging.
Hybrid solutions aim to combine the best of both worlds, offering the flexibility to store sensitive data on-premises while leveraging the cloud for scalability and advanced features. In this setup, the “single source of truth” is usually stored in the cloud, but local copies are kept and synced. This approach can mitigate some security concerns and provide a balanced cost structure, but it may introduce complexity in managing and integrating both environments.
Failure Mitigation
We are going to limit this investigation to a hybrid approach here, because that is what Flipper (and most other solutions) use. Moreover, these cases represent a generalization of the local and remote approaches, showing that a hybrid approach is perhaps your best option in terms of resiliency.
As such, there are typically two types of failures that can occur:
- The cloud backend goes down. The hybrid approach already caters for this case by providing a local cache of the flags. Flipper, in fact, was built from cloud up on the local case, performing a dual write to the cloud if it is enabled. Synchronization from the cloud back to the local caches occurs by either polling at regular intervals or listening for webhooks.
- The local cache goes out of sync, for example because of networking issues. There are two options here, both of which fall into the responsibility of the cloud provider. First, efficient retry mechanisms that repeatedly poll the cloud server and include a circuit breaker should that be futile. And second, providing read replicas as fallbacks, ideally located in different datacenters.
Measuring the Impact of Feature Flags
Making UI or Feature Decisions Based on Data
We have talked a lot about how to implement feature flags, but little about their implications. Suppose we have introduced a new feature and tested it using a percentage of actors. What strategies are there to actually learn something from this scenario? We might want to ask questions such as:
- Who used which variation in a split test, and how did they experience it?
- Did the optimization we introduced behind a flag actually improve performance?
- Did the new version of the background worker lead to shorter execution times?
- etc.
To answer these questions we have to evaluate feature flags in the context of other types of instrumentation typically provided by application performance monitoring (APM) tools like Datadog, New Relic, AppSignal etc.
In order not to over complicate our setup here, we are going to emulate this with a local Prometheus setup, which we’ll explore in the next section.
Case study: Real-World Example of Feature Flag Impact Analysis
Let’s assume we have a background worker for calculating statistics about Likes. We added an experimental performance optimization that we would like to test using a feature flag spread out across job runs using the “percentage of time” method:
To simulate the effect of an optimization, we add a sleep call to our job in case the flag is disabled:
How do we set up an evaluation method to safely draw conclusions from our changes? We need to instrument the job execution and record metrics to compare the before and after. To do this, we will use a local Prometheus and Grafana setup. I will not go into much detail about how to configure both of these tools, but refer you to the respective documentation.
First of all, let’s create a private Docker network and add three lines to our Procfile.dev:
- The prometheus container spawns the Prometheus daemon as configured by the config/prometheus.yml file (we’ll get to that in a second).
- The pushgateway is responsible for pushing metrics to Prometheus, as per default it does only scraping (i.e. polling) of data.
- The grafana container will be used to quickly draw a graph of the accumulated data by adding Prometheus as a data source.
Now, we have to furnish our application to communicate with Prometheus. First of all, let’s add the config/prometheus.yml configuration file:
The important section here is the one configuring the pushgateway to receive our metrics.
The next step is to configure a Prometheus metric to be populated from our app. We use a histogram metric and, for simplicity, configure it in an initializer as a global constant:
Note that we add both the* feature_flag* and whether it is enabled for a given job (feature_flag_enabled) as labels to be recorded. Finally, we add an around_perform callback to the ApplicationJob superclass to perform the benchmarking:
The observe_job_execution_time method adds the measurement to the JOB_EXECUTION_TIME histogram and performs a push to the gateway. Note that we reuse the @flag and @enabled instance variables to record the right state of a given job.
To test our setup, let’s enter a Rails console:
As expected, about half of the triggered jobs take around 520ms to complete, the other half about 20ms.
We can now head over to our Grafana dashboard at localhost:3001 and configure Prometheus as a datasource. Afterwards we add a panel to display the mean execution times for both cases - please refer to the documentation on how to set this up.
We use two Grafana queries to separate the non-optimized and optimized cases:
- histogram_quantile(0.5, sum by(le) (rate(job_execution_time_bucket{feature_flag_enabled="false"}[1m0s])))
- histogram_quantile(0.5, sum by(le) (rate(job_execution_time_bucket{feature_flag_enabled="true"}[1m0s])))

Now we have visual proof that our optimization was effective by plotting both cases against each other.
Conclusion
In this article, we have learned what feature flags are and in what scenarios they can be useful. We examined a few popular options for implementing them in a Ruby on Rails app and stuck with Flipper for the rest of the post. We developed a new feature for a sample app and looked into the common best practices for implementing and maintaining feature flags into our development process.
Going further, we explored a bit of the lower level principles of feature flags, like ways to segment users, or where to store them and what benefits and dangers that brings about. Finally, we concluded our investigation with a brief case study of how to measure the impact of feature flags using a data-driven approach.
Feature flags are certainly an arrow every Rails developer should have in his or her quiver. At the latest when you are faced with an experimental refactoring or expensive data migration, you will be thankful for a robust backend to help you with devops management.