

When I first started using Cloud 66 a while back, I wasn't exactly sure what the deployment experience would be like. In fact, I had to do a little digging to find all the information I needed from their documentation to make my first deployment a success.
Thankfully since then, the product (and documentation) has improved a lot. But whether you're a Rails beginner or a pro, I thought having a step-by-step tutorial to cover the experience of building and deploying a basic Rails app using the Cloud 66 features, would be a handy resource. It'll save you time, as well as provide insights into how a Rails-based app is best deployed.
Setting up PostgreSQL
First, install PostgreSQL on your local development machine. Full step-by-step instructions to installing the latest version of PostgreSQL are available on the PostgreSQL download page.
Next, create a user to access your database locally from Rails. I recommend using the same username as your login, making it easier. The best method to create the user is to start a command prompt and use the createuser tool: createuser --interactive.
Once you have PostgreSQL setup, the next step is to start creating our Rails app.
Setup a New Rails App
From a command shell, let's create a new Rails app that will help us track our favorite web links:
rails new rails-links --database postgresql
This will install a new Rails app into a new directory called 'rails-links' under the current working directory. The application will be pre-configured to use a local Postgres database.
Next, let's use the Rails scaffold generator to build a basic set of screens for our link-tracking app:
rails generate scaffold link title:string url:string
The generator will create a controller and the associated views to handle all of the create, read, update, and delete (CRUD) operations. It will also generate a database migration, an associated stylesheet and other assets that will be managed by the Rails Asset Pipeline. Scaffolding is not necessarily production-quality, but it will help bootstrap our little app.
Finally, let's ensure our database exists and the links table is created in our development database using the generated database migration:
rails db:create db:migrate
Then, start Rails locally to try it out:
rails server
With your browser, visit: http://localhost:3000/links to be sure the app is working properly.
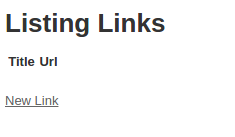
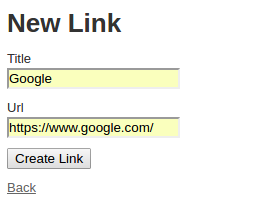
You should see an empty list of links. Use the "new link" option to create a new link in the database. You should then be able to go back to the URL above and see it listed. This will be the complete Rails application we'll deploy to Cloud 66.
Preparing to Deploy Rails to Cloud 66
Now that things are working locally for us, we need to prep our app to be deployed to Cloud 66. The first step is to edit config/database.yml to add a production database entry that will reference a Cloud 66-managed Postgres database. Below is an example database.yml file for the project:
development:
  adapter: postgresql
  encoding: unicode
  pool: 5
  database: rails-links_development

test:
  adapter: postgresql
  encoding: unicode
  pool: 5
  database: rails-links_test

production:
  adapter: postgresql
  encoding: unicode
  pool: 5
  username: <%= ENV['POSTGRESQL_USERNAME'] %>
  password: <%= ENV['POSTGRESQL_PASSWORD'] %>
  database: <%= ENV['POSTGRESQL_DATABASE'] %>
  host: <%= ENV['POSTGRESQL_ADDRESS'] %>
Note : If you decide to bring-your-own database using Amazon RDS or another solution, then you'll need to adjust your settings accordingly. You should do this by providing the environment variables yourself during the Cloud 66 deployment process, referencing the values that point to your bring-your-own database instance. If you choose to use a different database, refer to this article on database environment variables for Rails apps. Whatever you do, don't embed your credentials into your database.yml file, as these could get into the wrong hands (especially if you are using a public Github repository).
Next, we need to setup a local git repository and add the files and directories needed by Rails:
git init
git add app bin config config.ru db Gemfile* lib log public Rakefile README.rdoc test vendor .gitignore
git commit -m "Creating a basic Rails scaffold-based app that tracks bookmarked links" -a
Next, we need to create a new repository on Github, register the remote URL locally, and push it to Github:
git remote add origin git@github.com:your_git_repo_url_goes_here.git
Note : If you're using a different service to host your git repository, adjust the step above accordingly.
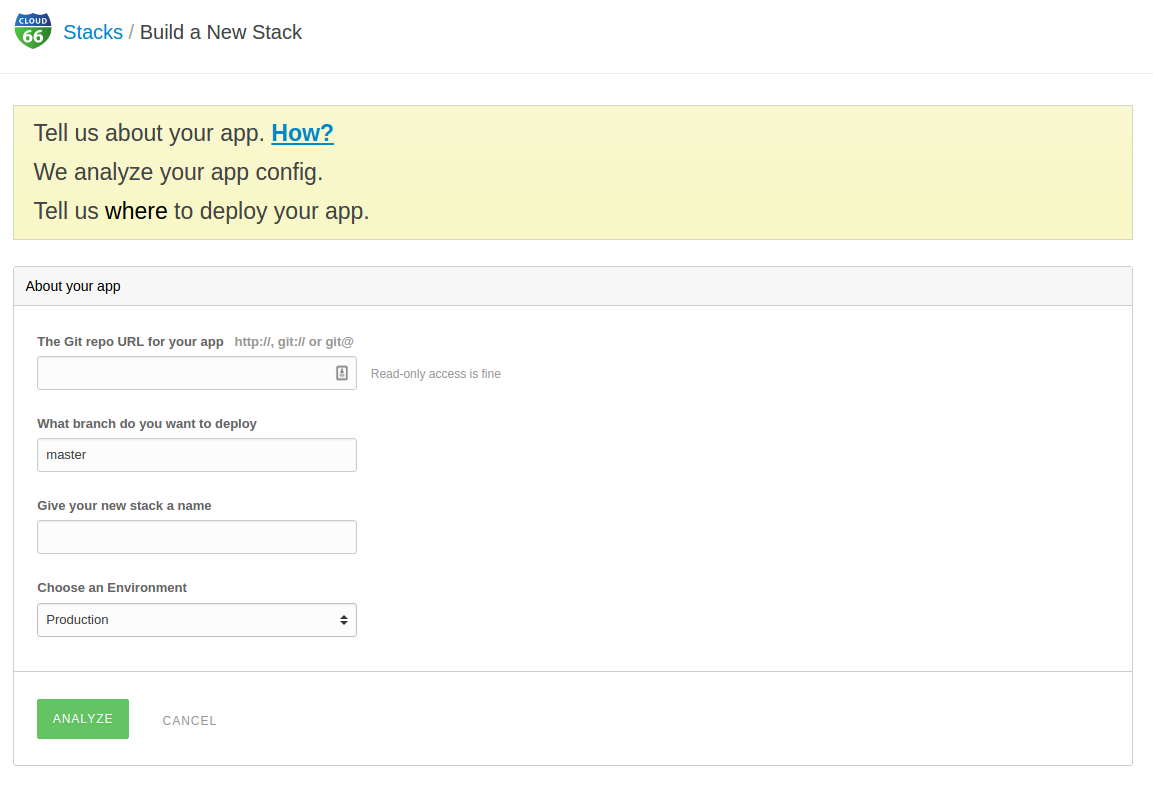
Finally, we need to setup our Rails stack on Cloud 66. Provide your git URL, the branch you wish to use for deployment (default is master), a stack name, and the Rails environment you wish to use (typically production):
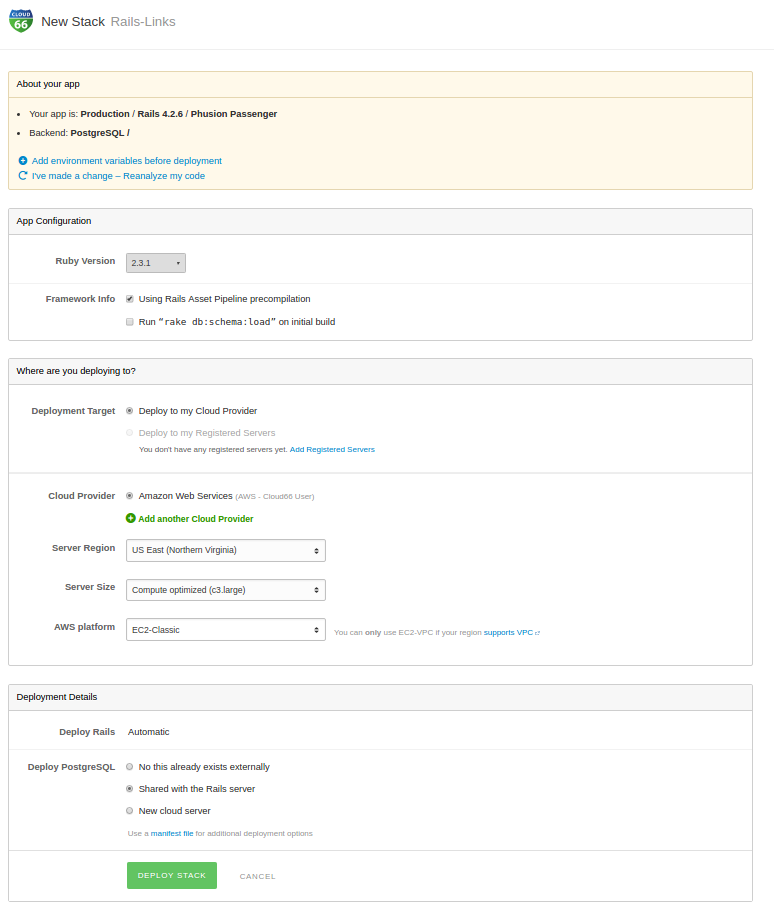
Cloud 66 will then pull your code from git, analyze the app, and request any additional information about the deploy process, including your cloud vendor of choice:
Note : If this is your first time through a Cloud 66 deployment, you'll need to register an SSH key for your git provider, along with account details for your cloud vendor.
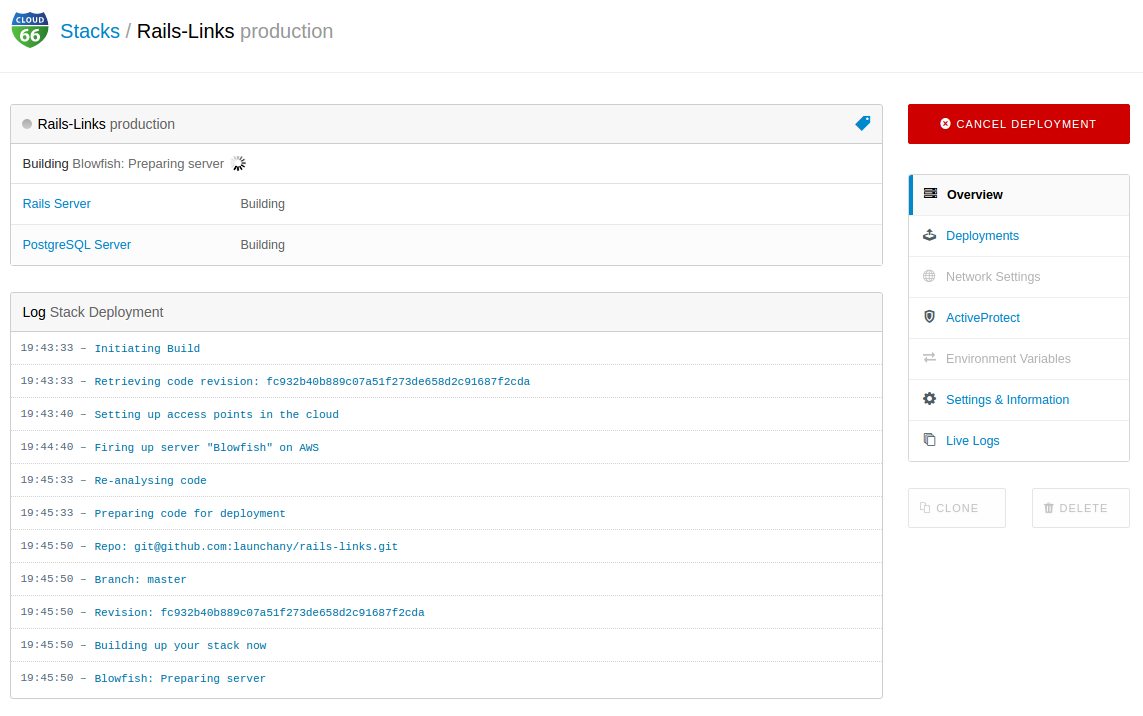
After you've provided enough information, you'll see Cloud 66 kick-off the server provisioning and deployment process. This may take some time, depending on your cloud vendor and the complexity of your application. You'll see a status similar to the following during the deployment process:
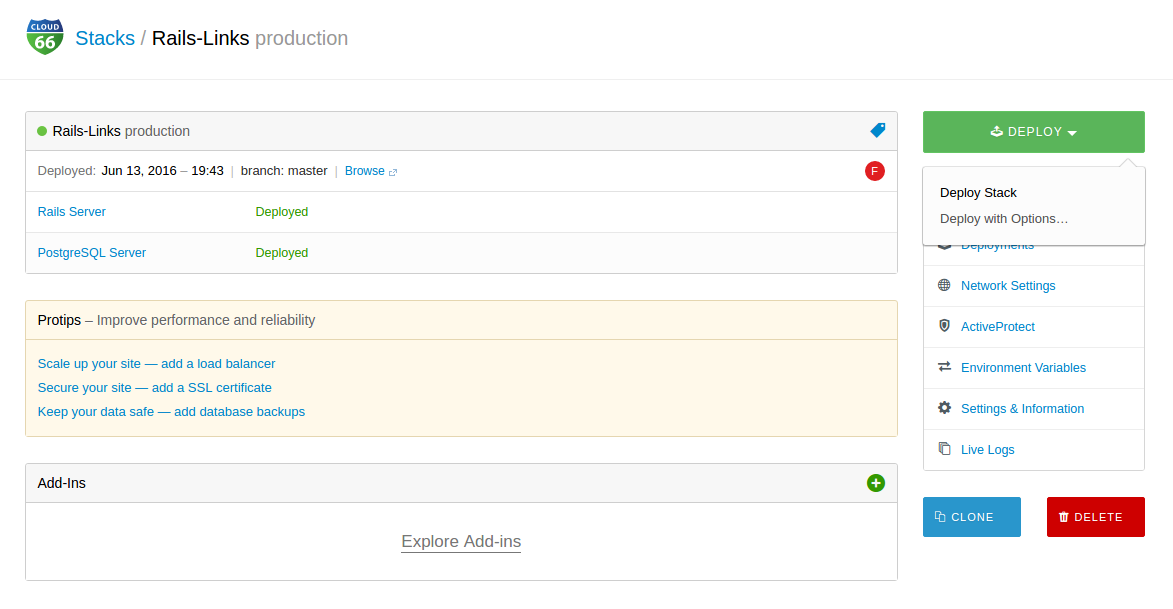
Once completed, you should see a summary of your application's deployment status:
Click the 'browse' link to immediately go to the deployed Rails app:

If you are using the sample Links application above, you'll receive an error as we didn't install a homepage. Simply adjust the URL in your browser's location bar to add /links to the URL. You should see something like this:
We can then add a new Link:
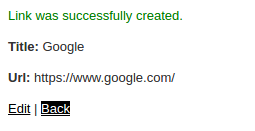
Once successful, go back to the list view to see our new link has been added
Let's fix our homepage issue and redeploy to understand how that works.
Manually Redeploying our Rails App
To create a default homepage that's driven by the Rails framework, we need to create a new controller with a single action:
rails generate controller welcome index
This will add a new controller, placeholder page, and an entry into our config/routes.rb. To make this controller and action the default, we need to add root 'welcome#index' to our routes so that it now looks like the following:
Rails.application.routes.draw do
  get 'welcome/index'
  root 'welcome#index'

  resources :links
end
Ensure your Rails server is running locally using rails server and then browse to http://localhost:3000. You should now see the default page on your local Rails server.
Let's now add these files to our local git repo, commit the change, and push those changes to Github:
git add app/* test/*
git commit -m "Adding a simple welcome page" -a
git push origin master
Returning to the Cloud 66 dashboard, we can now redeploy our application to see the latest changes:
Once deployed, click the 'browse' link again. You should now see the default welcome page. Easy, right?
Automatically Redeploying Using Github Webhooks
First, visit your Cloud 66 stack information: Dashboard -> (The Stack Name) -> Settings & Information -> Information. Look for the 'Redeployment Hook' setting, then copy the Redeployment Hook URL. Then, visit your Github repository's settings page: Github Repo -> Settings -> Webhooks & services
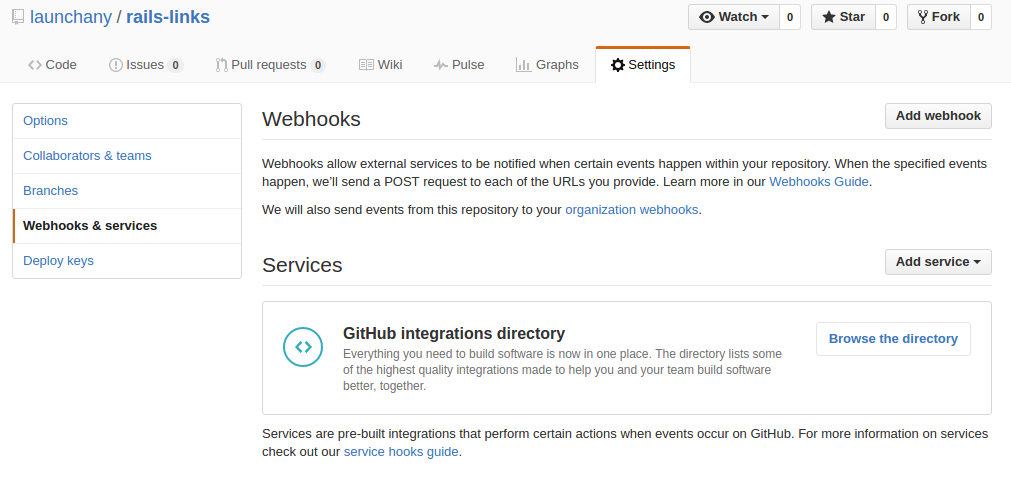
Click 'Add webhook', then paste the URL provided by Cloud 66. You can safely leave the other settings blank or with their default setting.
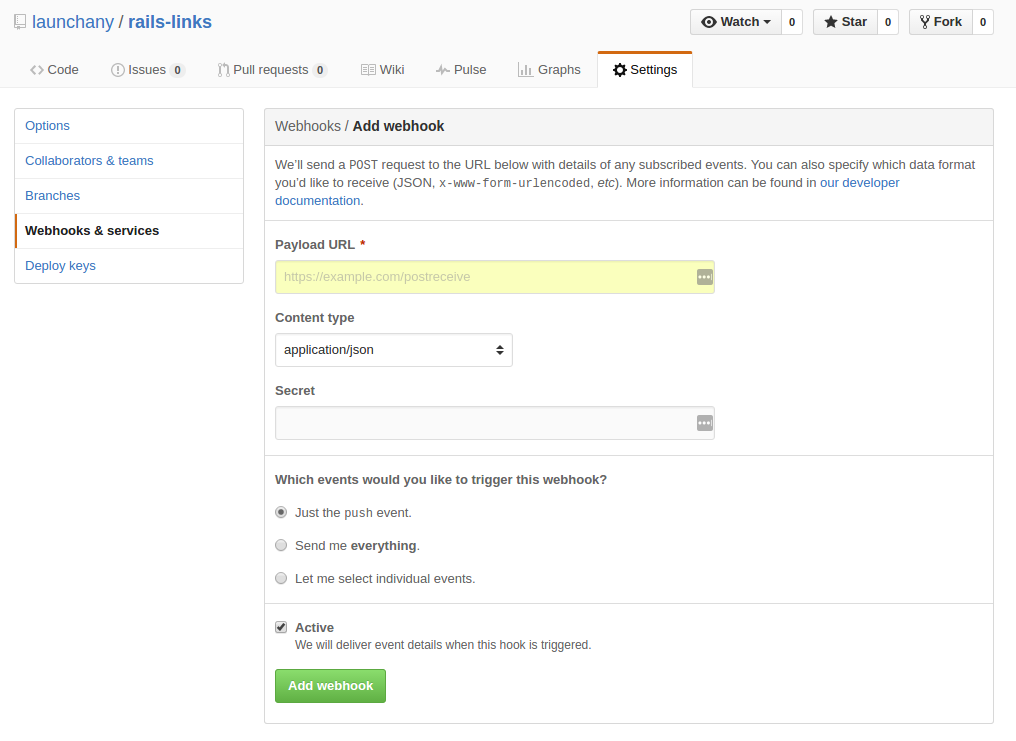
Once successful, you can refresh the Github page. You should see a green checkmark next to the Cloud 66 webhook, indicating that Github successfully pinged Cloud 66's redeployment webhook.
Once setup, we can try out the redeployment hook. Let's edit app/views/welcome/index.html.erb, adding a link to our Links index page. Add the following line to the end of the page:
<p><%=link_to "View all links", links_path%></p>
Ensure you have your local Rails server running and refresh your browser or visit http://localhost:3000 to verify you now see the link. Now commit the changes and push:
git commit -m "Adding a link to the Links index from the homepage" -a
git push origin master
Go back to your Rails stack using the Cloud 66 dashboard. You should see a redeployment running automatically. Once completed, click the 'browse' link and verify you see your new link appearing on the welcome page.
More details on configuring redeployment hooks using Cloud 66, along with support for other hosted git services, are available on the Redeployment Hooks help page.
Wrap-Up
This tutorial walked you through the process of creating a new Rails app, testing it locally, deploying it to your preferred cloud vendor using Cloud 66, and adding redeployment hooks to ensure the latest version of your app is always deployed. You can find the Github project containing the code for this tutorial on Github. Feel free to fork this project and use it to try it out yourself.
In the next article, we'll look at additional options available for making our Rails app production-ready.