
Today we announced our new Cloud 66 for Docker onboarding experience. With this update, you can now deploy your Docker stack in production by following the easy getting started tips on-screen.
How does it work?
We divided the whole process in to 6 easy steps aimed to help new Cloud 66 users deploy a Docker stack.
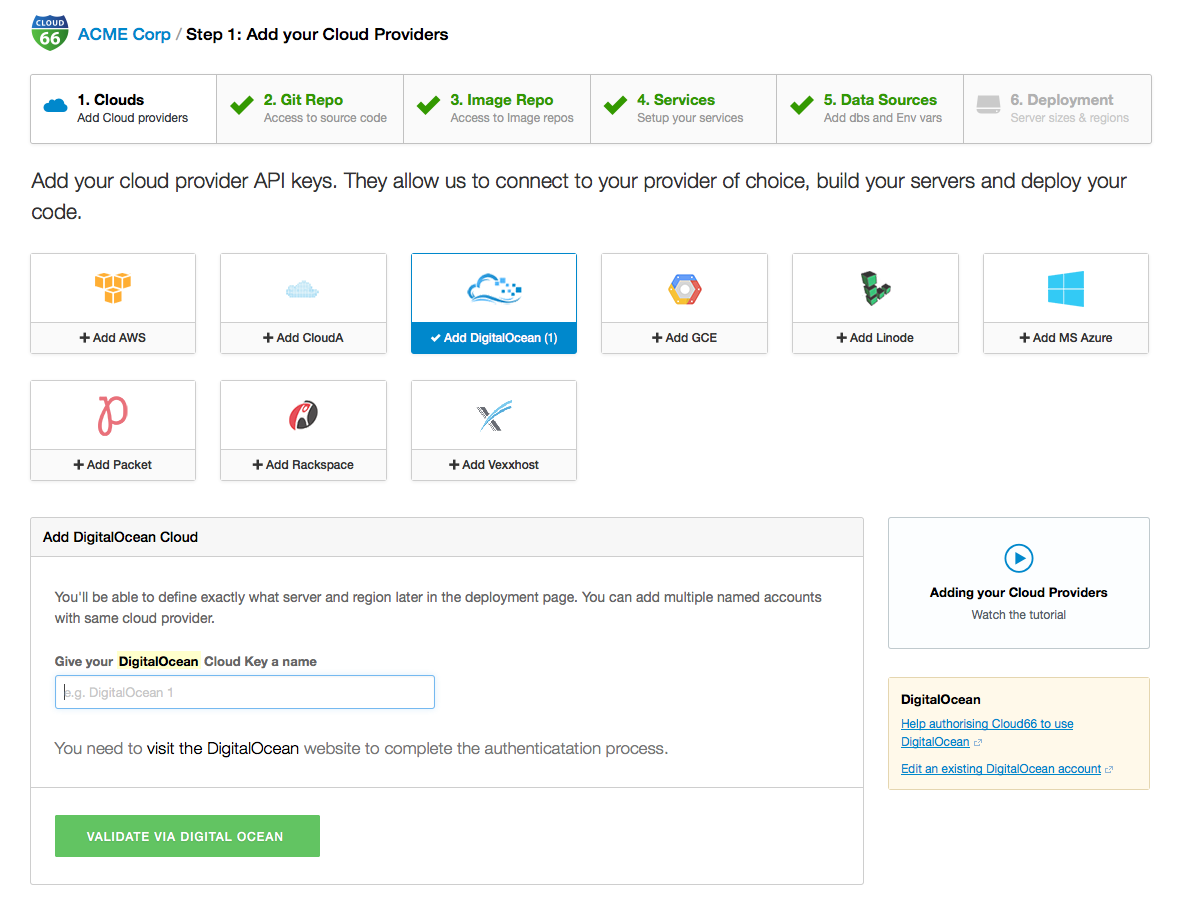
Step #1: Selecting your Cloud Provider
This step gives users a list of cloud providers we natively integrate with, offering a choice of how to deploy your application including; AWS, DigitalOcean, Microsoft Azure, Rackspace, Packet and more.
Watch the tutorial video for step 1 -->
Step #2: Git Repo Access
The next step offers different options for how you can add our public key for read-only access to your code. This will allow us to build the Docker Image for you by using our BuildGrid tool.
If you prefer to use your own image repository, you can skip this step. Additionally, you can also mix and match your pre-built images.
Watch the tutorial video for step 2 -->
Step #3: Image Repo Access
If you already have existing images, this step shows you how these can be added you your container. We natively support DockerHub, Quai and JFrog, alongside running these on-premise or in other cloud repos.
Note that you can skip this step if you've already used our BuildGrid tool.
Watch the tutorial video for step 3 -->
Step #4: Service
Once we have access to your image - either via BuildGrid or your own image repo, you can move on to step 4 to set up your services (API, Branch, Ports). For users wanting further customization, you have the ability to edit services.yml and manifest.yml in our Advance Mode.
Watch the tutorial video for step 4 -->
Step #5: Selecting Data Services
This step guides you on how to add your Database and Data Services to your stack. You can choose from MySQL, MongoDB, Redis, PostgreSQL and more, but also use a GlusterFS as a native solution.
Note: The Datasources will be built on your services, not in your Docker container. We recommend this as best practice.
Watch the tutorial video for step 5 -->
Step #6: Deployments
As you've now selected your cloud provider in step 1 and the data service in step 5, you can now determine the cloud region and size of service. Lastly, you'll be prompted to set up your stack environment.
Watch the tutorial video for step 6 -->
Try it out! and have fun creating your Docker stacks. Let us know your feedback on how we can further improve the onboarding experience!
If you have any questions or any suggestion, don't hesitate to get in touch.