

This feature series will focus on the Cloud 66 Toolbelt and is organized into three parts: for beginners, intermediate and advanced level users. This is part two.
By this point, you'll have the Cloud 66 Toolbelt installed in your account and would have used a few simple commands like $ cx stacks list, $ cx redeploy and $ cx easydeploys list to get you more confident in using the tool. With these next steps, you'll have the opportunity to try more cx commands to 'wax on, wax off' on the journey to becoming a Toolbelt Karate Kid.
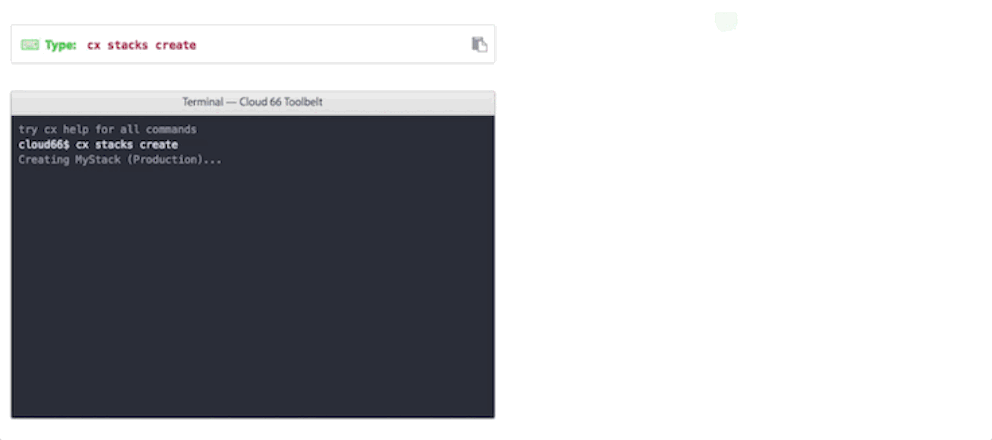
Toolbelt visualization:
Before moving to the new commands, I'd encourage you to have a look at our Toolbelt visualization page, where you can get a visual walk-through of how Toolbelt command lines actually work.
In the box above the terminal, you'll see suggestions of pre-prepared command lines you can type into the mock terminal window. Once typed, hit return and you'll see a graphical representation to the right, showing what's happening with the example stack.
Now that you're more familiar, I'll showcase five additional commands to help you move to the next level of using Cloud 66 Toolbelt.
#1 Adding SSH to your server
By using our toolbelt $ cx ssh command line, you can easily start the SSH session.
The command line allows you direct SSH shell access to your servers by temporarily opening the firewall to source the IP address and downloading the SSH key. Your server SSH key is downloaded to ~/.ssh and re-used in subsequent SSH connections via the Toolbelt.
$ cx ssh -s "My Awesome App" Lion -e production
Note: To use this command add shell to the server rights and for more details visit our help page.
#2 Upload/download files from you server
There are two simple command lines that allow you to upload and download the file to/from your server.
To upload a file from your local machine to the remote server, use $ cx upload command line. The file will be copied to /tmp on your remote server.
For example:
$ cx upload -s "My Awesome App" --server web /tmp/file.txt /tmp/file.txt
Check out our help page for more information.
Next, to download the file from the remote server to your local machine, use the $ cx download command line via our toolbelt. By default, the file will be downloaded to your current local directory.
For example:
$ cx download -s "My Awesome App" --server web /tmp/file.txt /tmp/file.txt
For more details view our help page.
#3 Tail files
You'll find this command line $ cx tail very useful when reading your file, as it shows the logs in real-time. Logs are read from your stacks log folder $STACK_PATH/log and should be the full logfile name including the extension.
For example:
$ cx tail -s "My Awesome App" web nginx_error.log
Visit our help page for more information.
#4 View environment variable
Toolbelt helps you manage your environment variables with an easy command line $ cx env-vars. It allows you to list and set environment variables on your stack.
For example:
$ cx env-vars list -s My_Awesome_App
$ cx env-vars set My_Awesome_App FIRST_VAR 123
Find out more on our help page.
#5 Settings
You can also easily manage your stack settings with the Toolbelt settings command line $ cx settings.
To view all available settings you can type the following command in your terminal:
$ cx settings list -s "My Awesome App"
This will bring up the list. which includes commands like maintenance.mode, reconfigure.nginx, run.deploy.command to name a few.
To set up your stack settings, use the following $ cx settings set command line.
For example:
$ cx settings set -s my_stack deploy.parallel true
Read our help page to learn more.
Happy coding!