
When you're architecting and developing your microservice architecture using Docker as your containerization technology, you need a proper workflow to get those gems from development to production without any resistance.
This post will talk about how you can leverage docker-compose.yml to create a repeatable environment from development to production.
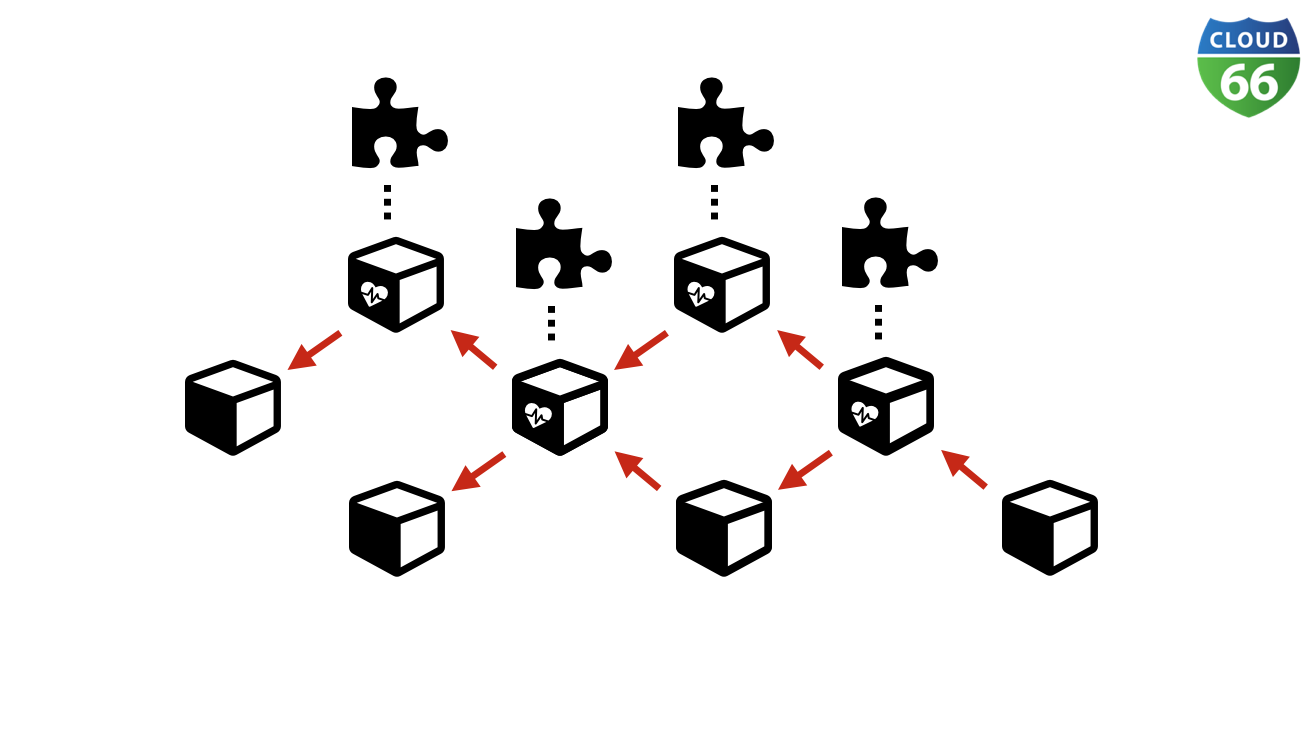
Microservices spaghetti
When designing your microservice architecture, you're probably looking for a message queue like RabbitMQ to let all your services talk to each other as loosely coupled as possible. Or, you'll be looking to use Restful API's which are forgivable based on what kind of payload they can handle.
But the difficulty with microservices is when you have an increasing amount of services, it becomes hard to keep track of all your integrations. So how do you test and develop these without losing track of all the moving parts, or without compromising on the de-coupled nature of the services?
With docker-compose.yml , a bit of GIT and some directory tree structures, you can start to create a semblance of order between your microservices spaghetti.
Why developers love docker-compose.yml
As a developer, typically you'll only want to develop one microservice at a time. But you may also want to be able to switch in an instance to another microservice, or integrate all your microservices to see if they work together harmoniously.
To get a better understanding of what I mean by this, I've put together a sample GIT repo for this blog post, which I also used in a recent webinar. If you missed it, you can catch up with an on-demand recording of my webinar presentation and download my slide deck for future reference.
Using docker-compose.yml is an excellent way to abstract the underlying Docker engine and compose your microservice architecture. You can start with composing just one microservice - for example an API, and start developing right away to build your stable environment.
This simple API microservice can be started with:
# docker-compose up
Pay attention to the volumes entry, as we're mounting the local file system to the running container for the convenience of developing your microservice.
Mimic the production environment
Linking our runtime dependencies like Mysql and Rabbitmq using docker-compose links , you can add extra DNS entries using the links statement. Depending on what service discovery strategy you're using in your production environment (i.e. Cloud 66 Elastic DNS) you'll be able to make use of this practice to mimic the same production environments.
Integrating all your services
When adding more and more services in different directories inside your code repository, you can add an overall docker-compose to spin-up your whole microservice architecture like this:
Pay attention to the fact that we're building and spinning up different services inside different contexts / directories.
You can off course choose to put all your microservices in one repository, or use submodules to integrate all your microservices into one base repo for integration and testing.
Running in production
When developing microservices, you have to take care not to create too many dependencies - like linking volumes, which are hard to setup and maintain in production. Especially if you deploy on a multi-node Docker cluster.
When starting a greenfield project, from day one it must run in production. Here's a sample service.yml showing how you can run the architecture we discussed in this blog post on Cloud 66.
If you take a closer look at the service.yml you can see we're using GIT repo and build_root to build the images with Cloud 66's BuildGrid feature. No need in this example to push anything to an image repository.
Start small and scale later
When aiming for a microservice architecture using Docker, start small with just a single service, adding additional services one at a time. This will ensure you're always creating a complete integration, which can run from day one in your testing, staging and production stacks.
Happy coding!