

We were really excited to announce registered servers a few weeks back. It's an easy way for Cloud 66 customers to use a server they have on a public or private cloud, that's not natively integrated with Cloud 66. Today I'm going to provide a short tutorial on how to use this feature.
As a note, you can find all the information you need on bring your own server (BYOS), along with the full requirements your servers need to meet in our help pages. It's also worth noting that all the features Cloud 66 offers for bring your own cloud (BYOC) stacks are also available to registered servers as well, including load balancing, database management and scaling up!
So let's go ahead and deploy an example application on a stack using registered servers on Cloud 66.
First, fire up a few servers on your cloud. The easiest way is to configure your servers so that you can log in with an SSH key. I created an SSH key and configured my new servers to be connectable with it. That way you can register them quickly using our toolbelt.
To register a single server you can use:
cx register-server --org="My team" --server 46.101.0.198 --user=root
where --server and --user are the IP address and username of the server to connect to,
and --org is the name of your team, which you can find by running cx info
Also, if you are using a different key than the default id_rsa you can provide it with the --key option.
If you have multiple servers to register, you can create a text file with one IP address per line, similar to:
46.101.0.198
188.166.146.168
Then register all of them with the --file option:
cx register-server --org="My team" --file="~/server-ips.txt" --user=root
The toolbelt command simply runs the registration script using a direct SSH connection from your terminal to the specified servers. If your servers are not configured for SSH login, you will be prompted to enter your password.
Of course, if you don’t feel comfortable with all this magic, you can download the script from the Registered Servers page and inspect it to see what it's doing to then manually run it on each of your servers.
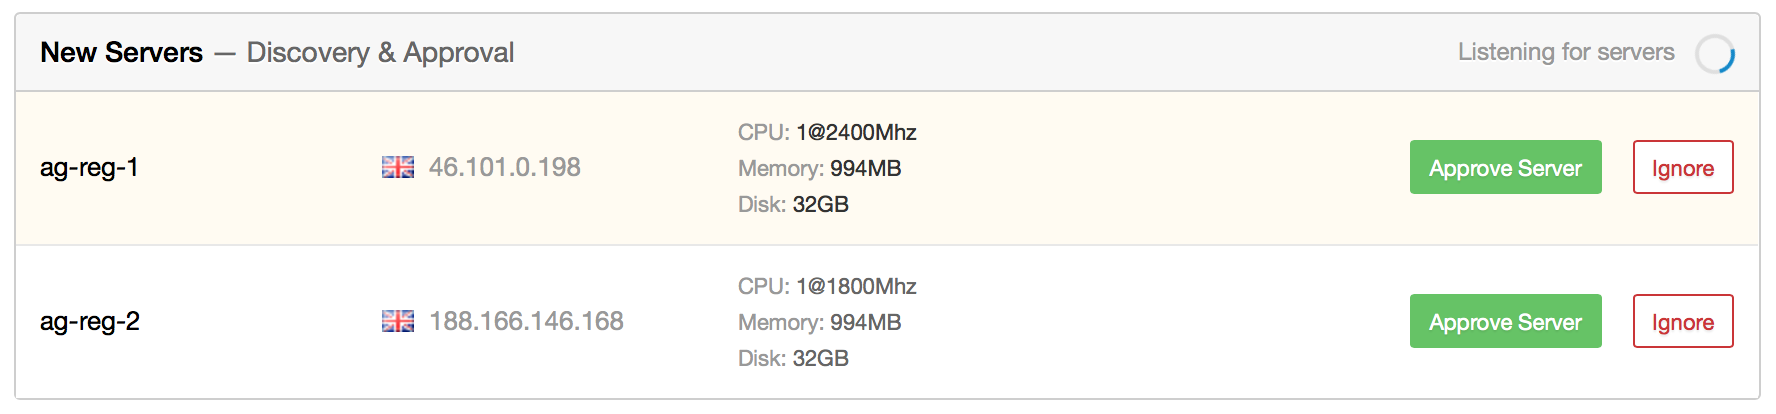
Then your servers will appear in the New Servers tab in your Registered servers page like below, were you can approve them:
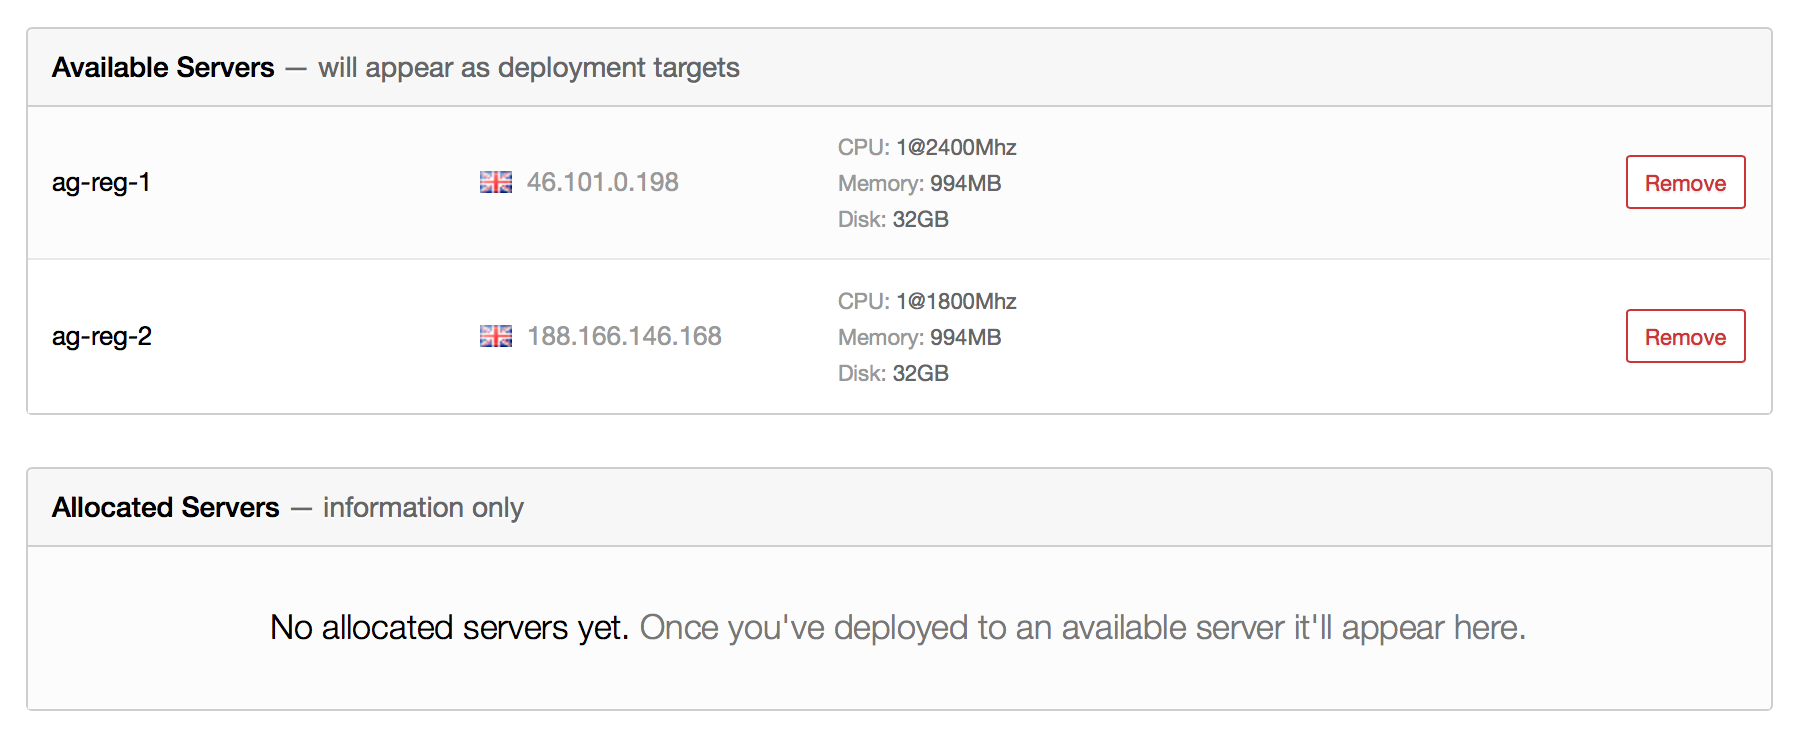
They will then be available in your server pool to use for new stacks. You can see how many servers are available or allocated in the Available servers tab:
You can then go to the Cloud 66 app to create a new stack and use those servers as you would normally do with any of the cloud providers we support.
I'll use our Easy Deploy App Store to deploy a Docker stack with WordPress. Create a new stack and on the services section, change the tag to the image of WordPress that you want. I'm using the latest version, which at the moment is 4.5.2. Go to the next step and choose Deploy to my Registered Servers. I chose the database to be deployed on a dedicated server.
Be aware that if your server is in a cloud with native security groups (such as AWS Security Groups), then you must manually configure them such that your registered servers are able to talk to each other and Cloud 66. Open at least TCP port 80, 443 and 22 to the outside world. We install a firewall on each server to block port 22 and manage access. Also, all servers must be allowed to communicate inside the security group on TCP port 6783, which is needed to create the overlay network (Weave) for Docker stacks.
After configuring your security group, if any, you can go ahead and deploy and we'll take care of the rest. Once everything is up and running, you might want to scale up your stack. To do that I created a small server as my load balancer to-be and an additional server to add to my group of Docker servers.
You can register this following the same process outlined above, so go to the Add-Ins page and install a Load Balancer. Make sure you select the correct smaller server. When your load balancer is added successfully, you can now scale up. You can do that by going to your Docker server cluster and clicking on Add Docker Server. After the server has been provisioned make sure you do a quick redeploy to apply the changes across all servers of your stack.
Read more on how to 'Deploying Applications to gridscale using Registered Servers'.
Find out more on how to 'Deploying Applications to Exoscale using Registered Servers'.
Check out how to 'Deploying Applications to Scaleway using registered servers'.
*Explore more on how to 'Deploying Applications to VULTR using Registered Servers'